Bricks now Boarding part 5: The Fleet
Time for the last part of the project, but one that took up a big percentage of the time - the history of the fleet. What would any exhibition of an airline be, without the planes that they have flown over the years?
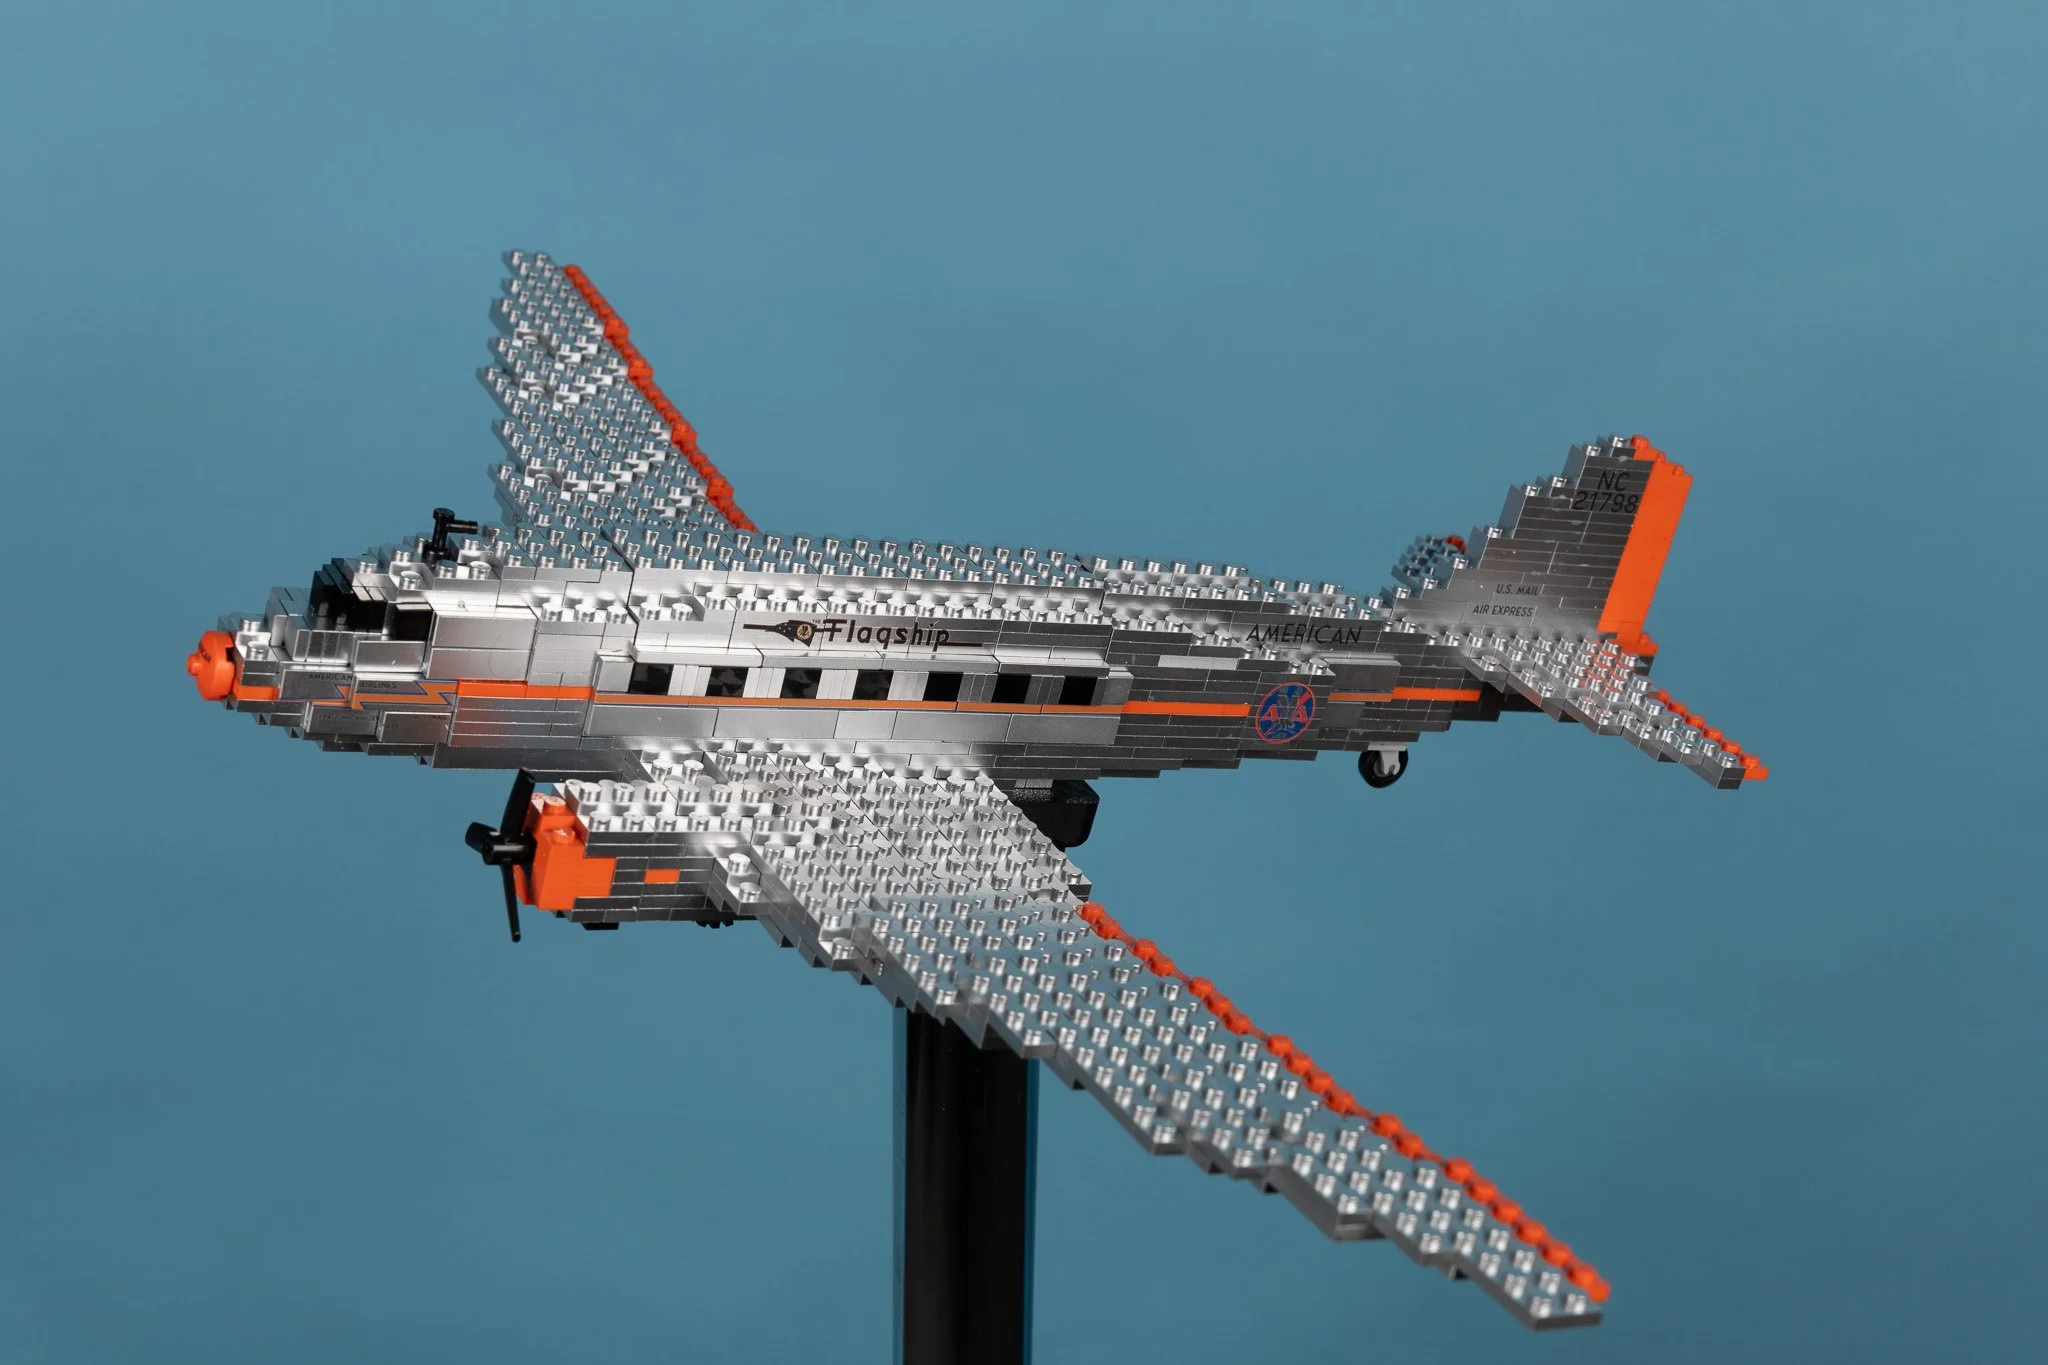
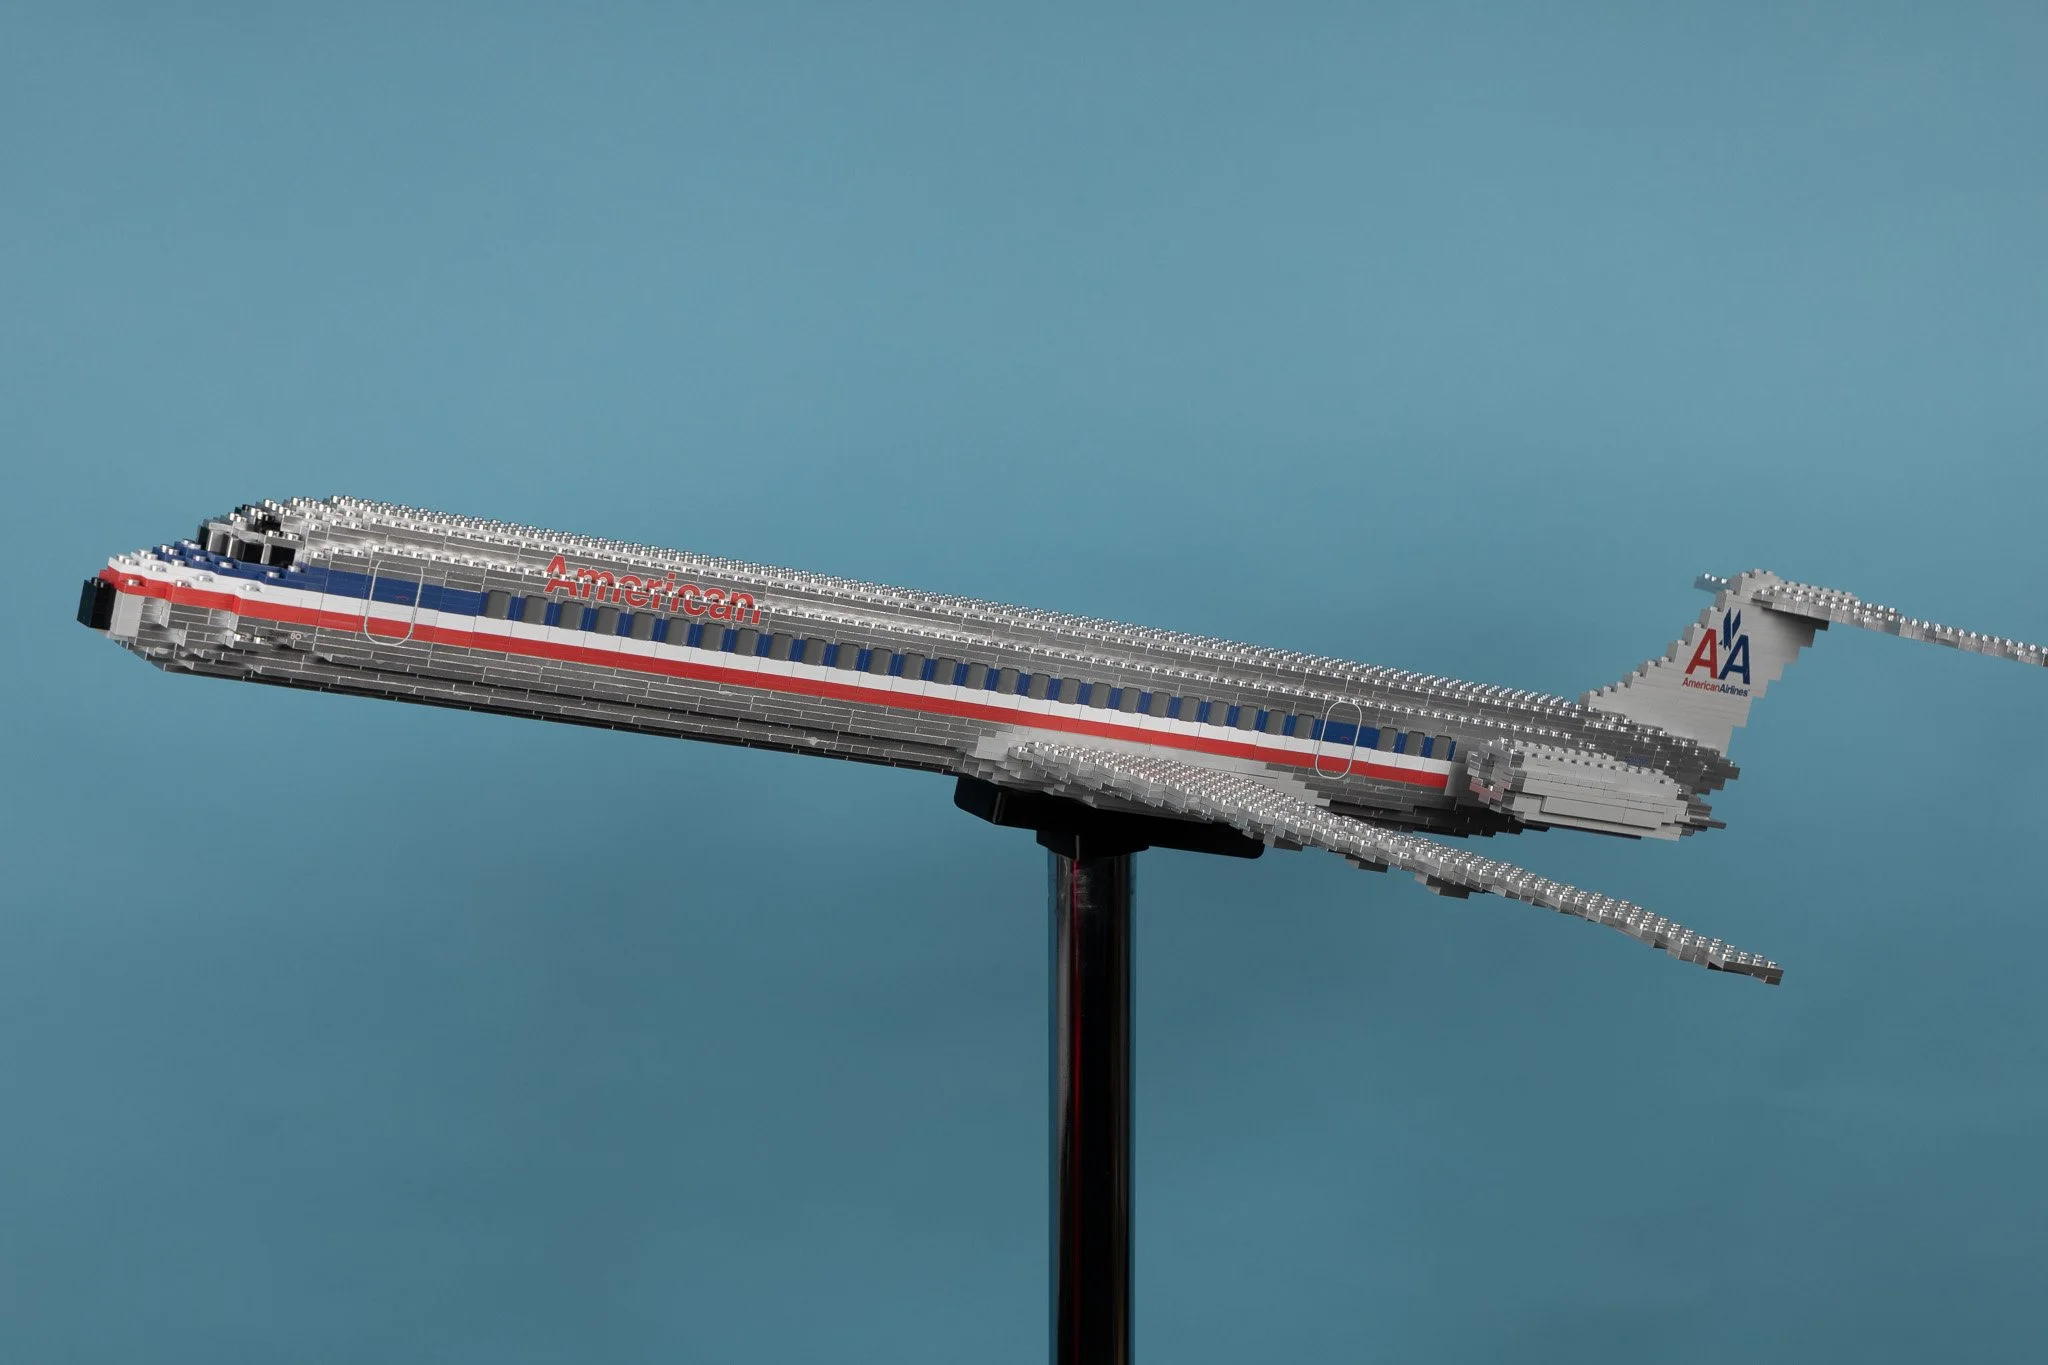
When we started planning the exhibition, it was clear that we wanted to include a number of aircraft from throughout the history of American Airlines. From the earliest planes - right through to the present day. So we decided on 5 different planes - all iconic in one way or another. Jump straight to the video if you’re short on time, or grab a cuppa -this is a long one!

An image from the archives - a DC3 flies over New York
The Research
If I’m building a model of a current building, vehicle or person - it’s normally fairly easy to get hold of current images or video to work from.
Usually it’s the same for anything iconic from the past. However, in some cases there is a period of time where archive images are harder to come by. Either photography wasn’t common at that time, or the item wasn’t considered iconic enough to take pictures of!
Thankfully - like many large companies - American Airlines have their own archive and in this case it’s at the museum where the models will go on display. So the simplest way to get the information I needed was to trawl through the archive in person!
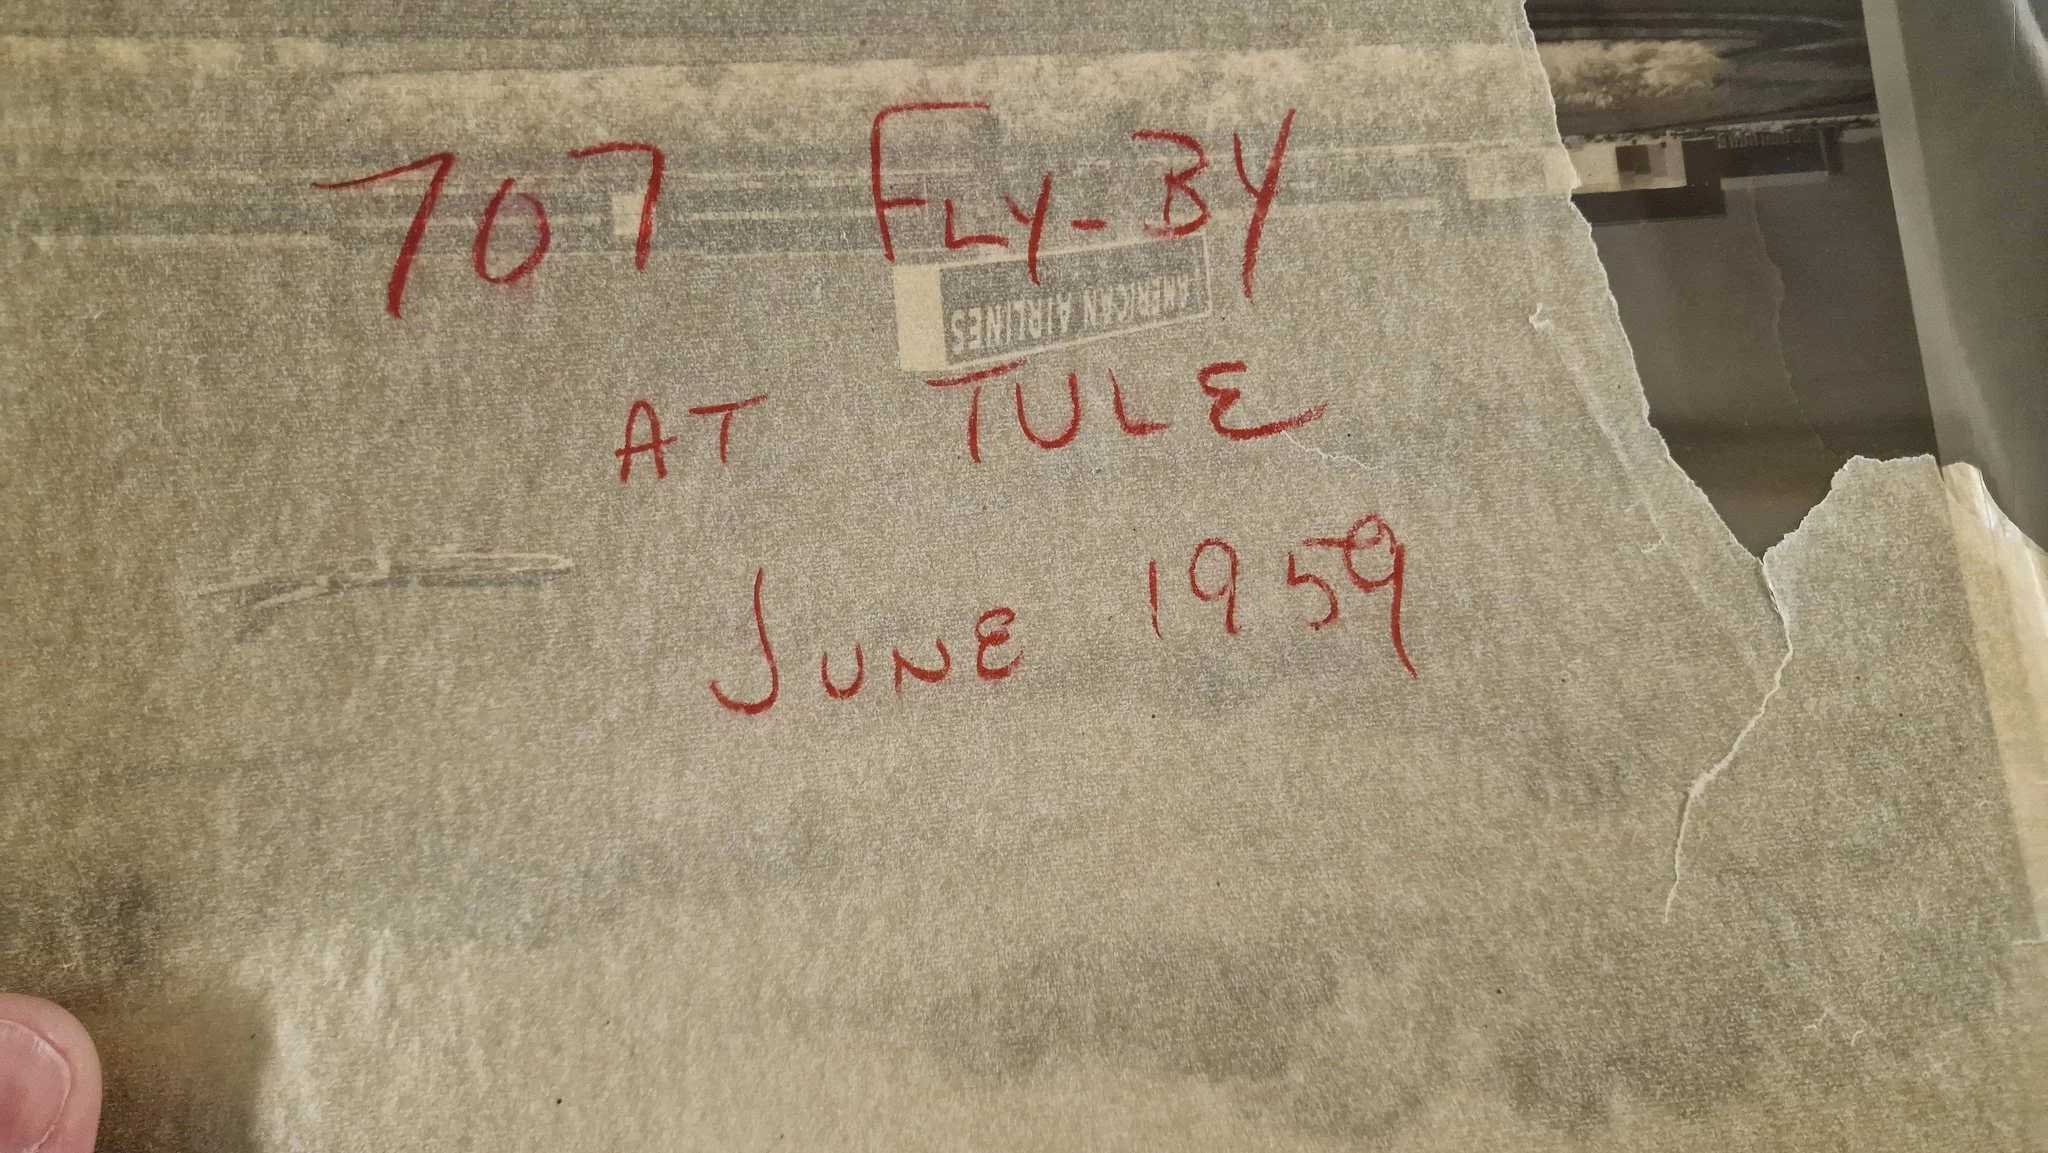
I don’t have many photographs that I can publish from the archives (they aren’t mine to publish) - but what I did manage to find were not only images of the early aircraft that American flew, but also references for paint codes, designs and layouts. Which would be an essential part of the model!

Warren, hard at work ‘researching’ an MD81 cockpit in the museum
Whilst working in the archives, I concentrated on the design of the 5 planes that we were had decided upon. These would be the:
Apart from the choice of planes themselves though, there were other things to take into consideration. Primarily the overall design and, of course, the iconic AA colour scheme.
If you’re a LEGO fan - then you’ll know that there are quite a few colours available in the LEGO palette. Having said that, the few hundred colours that LEGO have ever used pale in comparison with the millions of colours that most people can see.
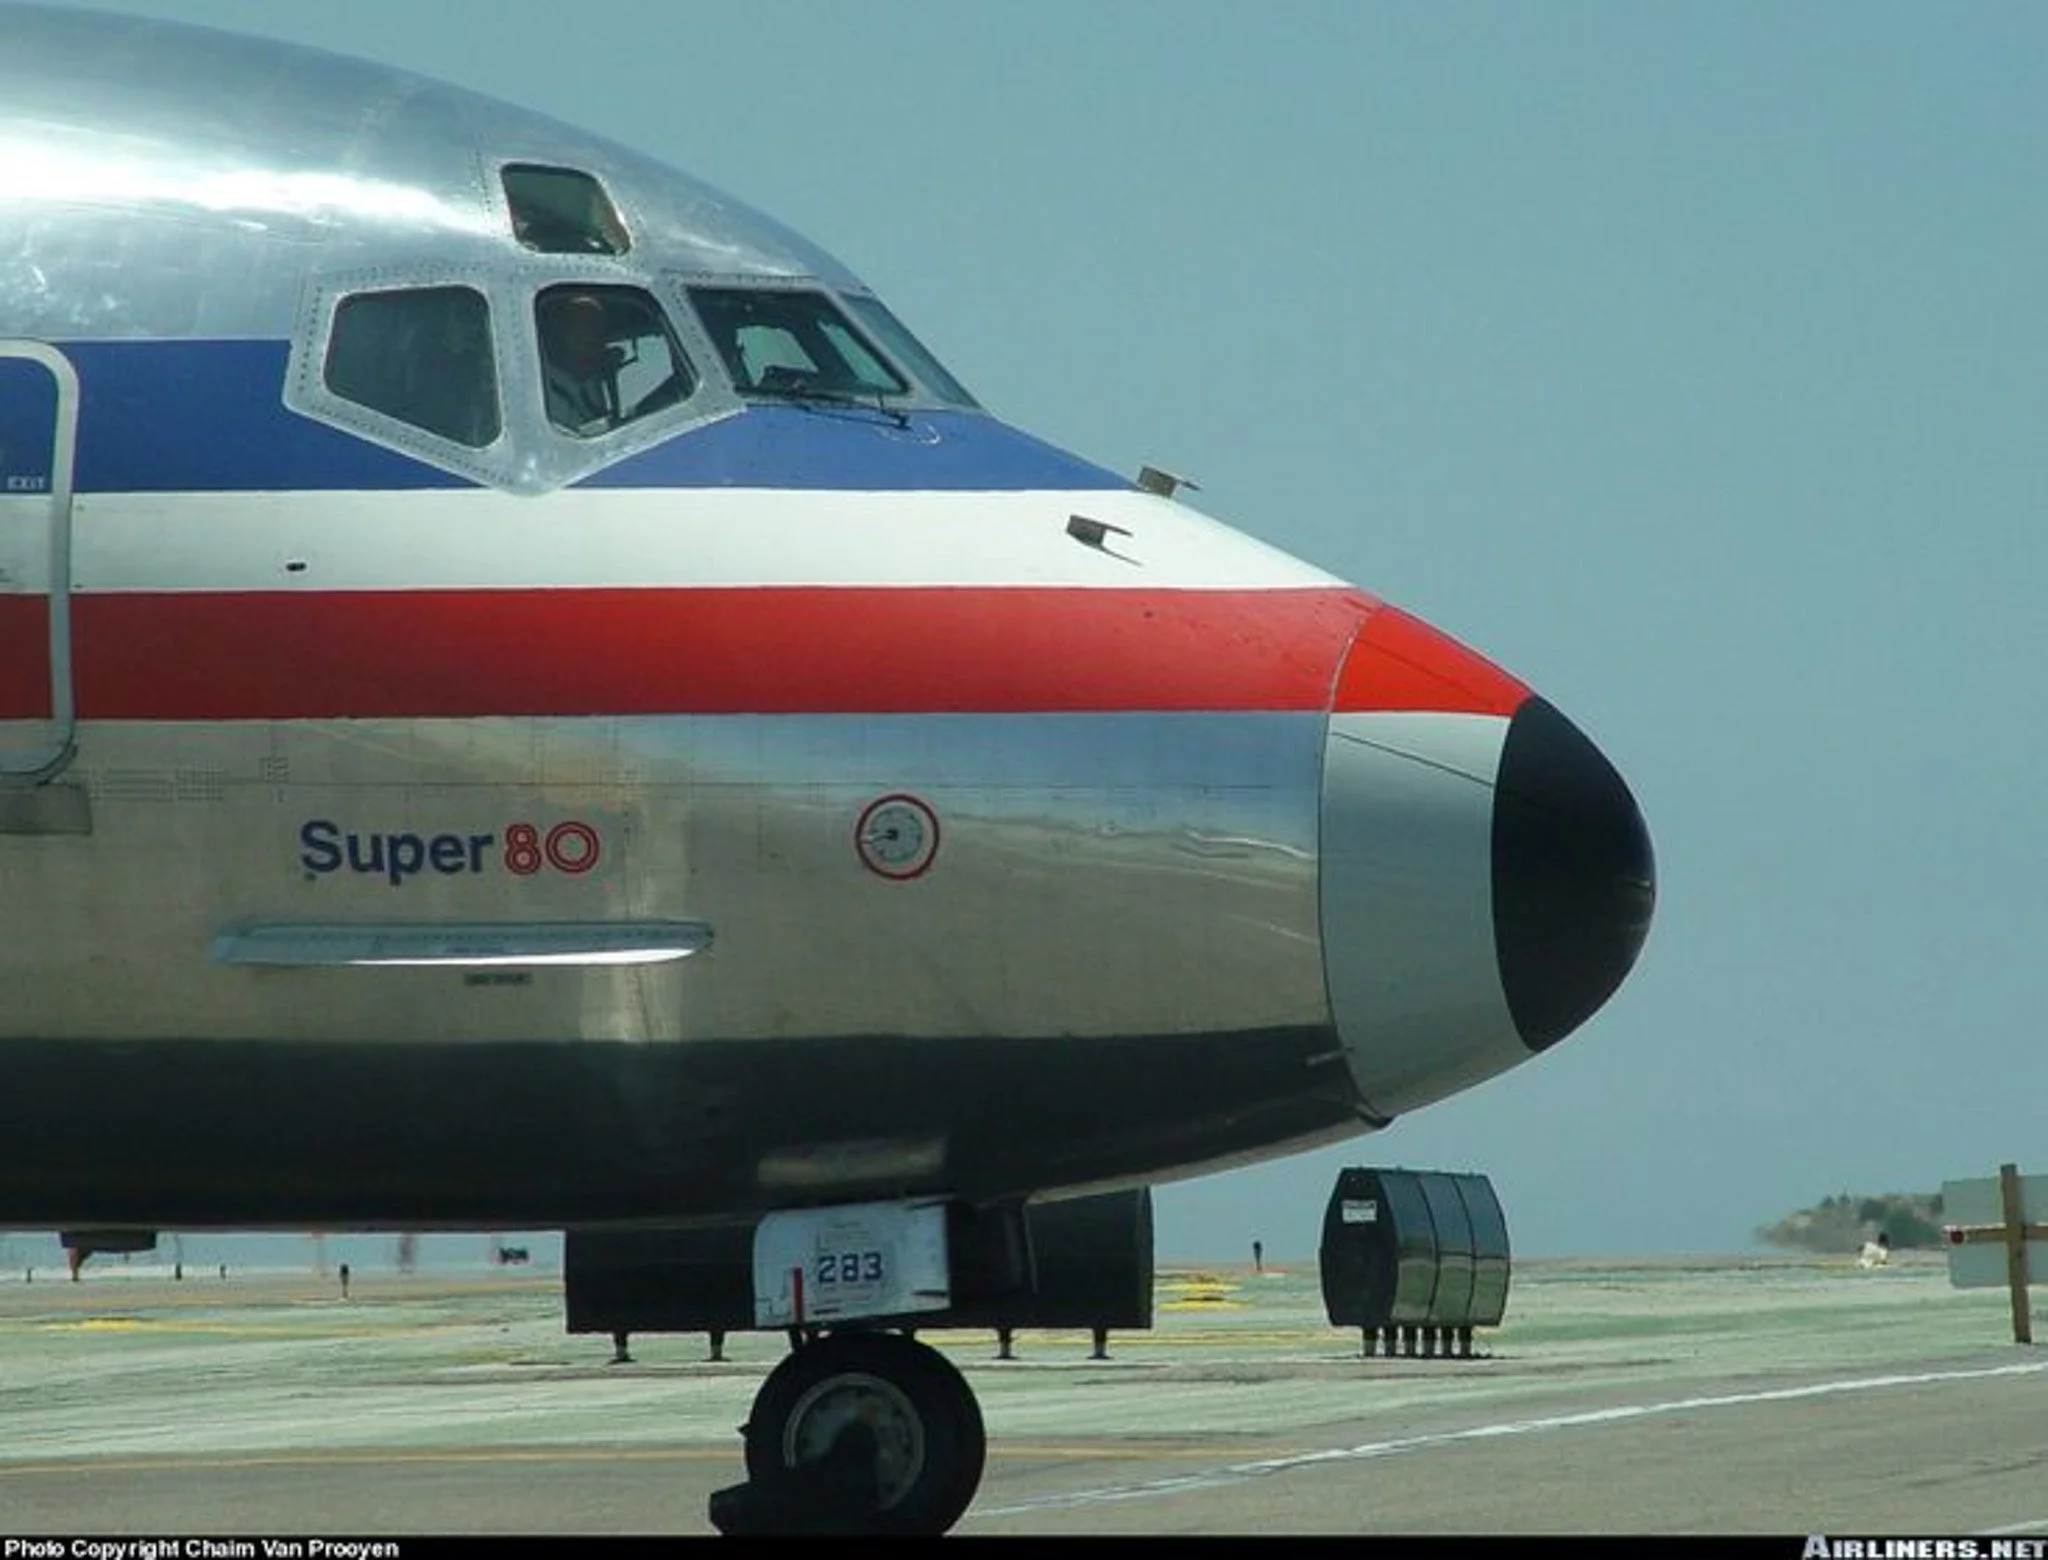
Colours only tell half the story too. There are myriad different finishes too. In fact, AA are quite famous for the polished aluminium finish of their earlier planes. In fact, as composite planes made an aluminium finish impossible, they moved to a custom paint finish to replace it - one containing reflective Mica flakes.
Matching colours is actually a far more complex topic than you might expect. Companies like Pantone have made a whole industry of it. Possibly the best way to choose a brick colour though, is to put a brick next to the real thing. That’s a little complicated for airplanes! Thankfully though it turned out that the simulators used for training were painted in the same paint as the real planes. So we could check the colour and determine that… it’s not that great a match for the closest standard colour!

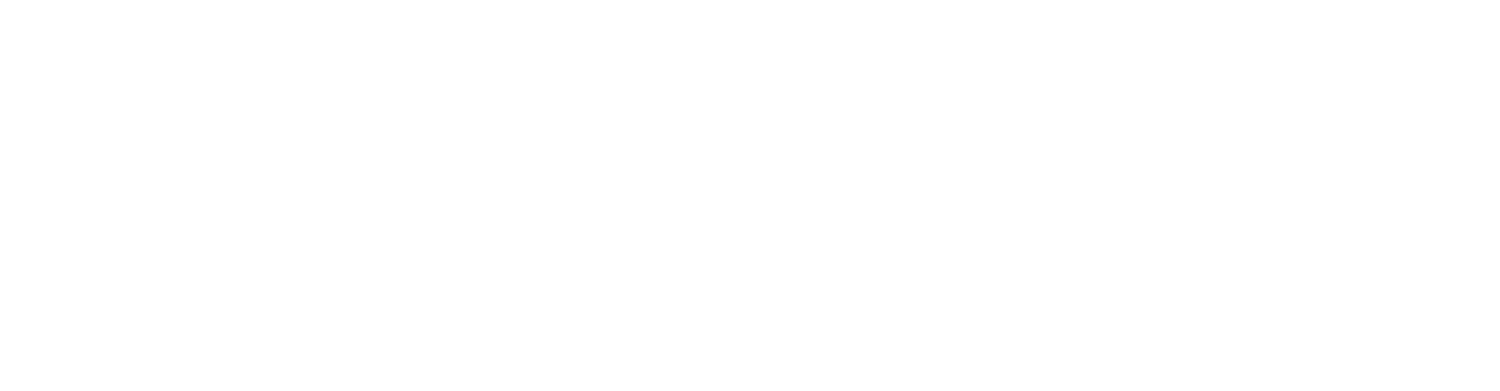
A DC3 inside the museum - ideal for colour matching

A quick visit to cabin crew training facilities to look at fuselage colours

LEGO ‘Medium Stone Grey’ bricks against an AA fuselage - not a great match!
Taking a small detour, I could check the polished aluminium colour quite easily. The museum actually has a DC3 inside in the original livery. So that was a simple case of holding a brick against the real plane. ‘Flat Silver’ (a semi-metallic colour) would work well.
At this point we had one colour nailed - but the second was still ‘up in the air’.
What I did realise though, was that there was going to be a particular way we’d best represent the planes. When I’m designing a brick model, there are lots of ways to create the design. I can, for instance, use all the available bricks and get the model as close to the real thing as possible. These models can look great - but they have one key disadvantage. They often don’t look brick-built!

Just one of the many airplane models in the museum
Inside the museum are a lot (really, loads) of model planes. They look great and are commercially-produced in fibreglass or resin from the original designs. If I’m honest - putting a detailed brick-built model next to a fibreglass model would only highlight the fact that the brick-built model wasn’t quite correct. So, in this instance, it would be better to accentuate the material, and make sure that the model looked like it was built from bricks.
So - back to what colour to use for the current planes….
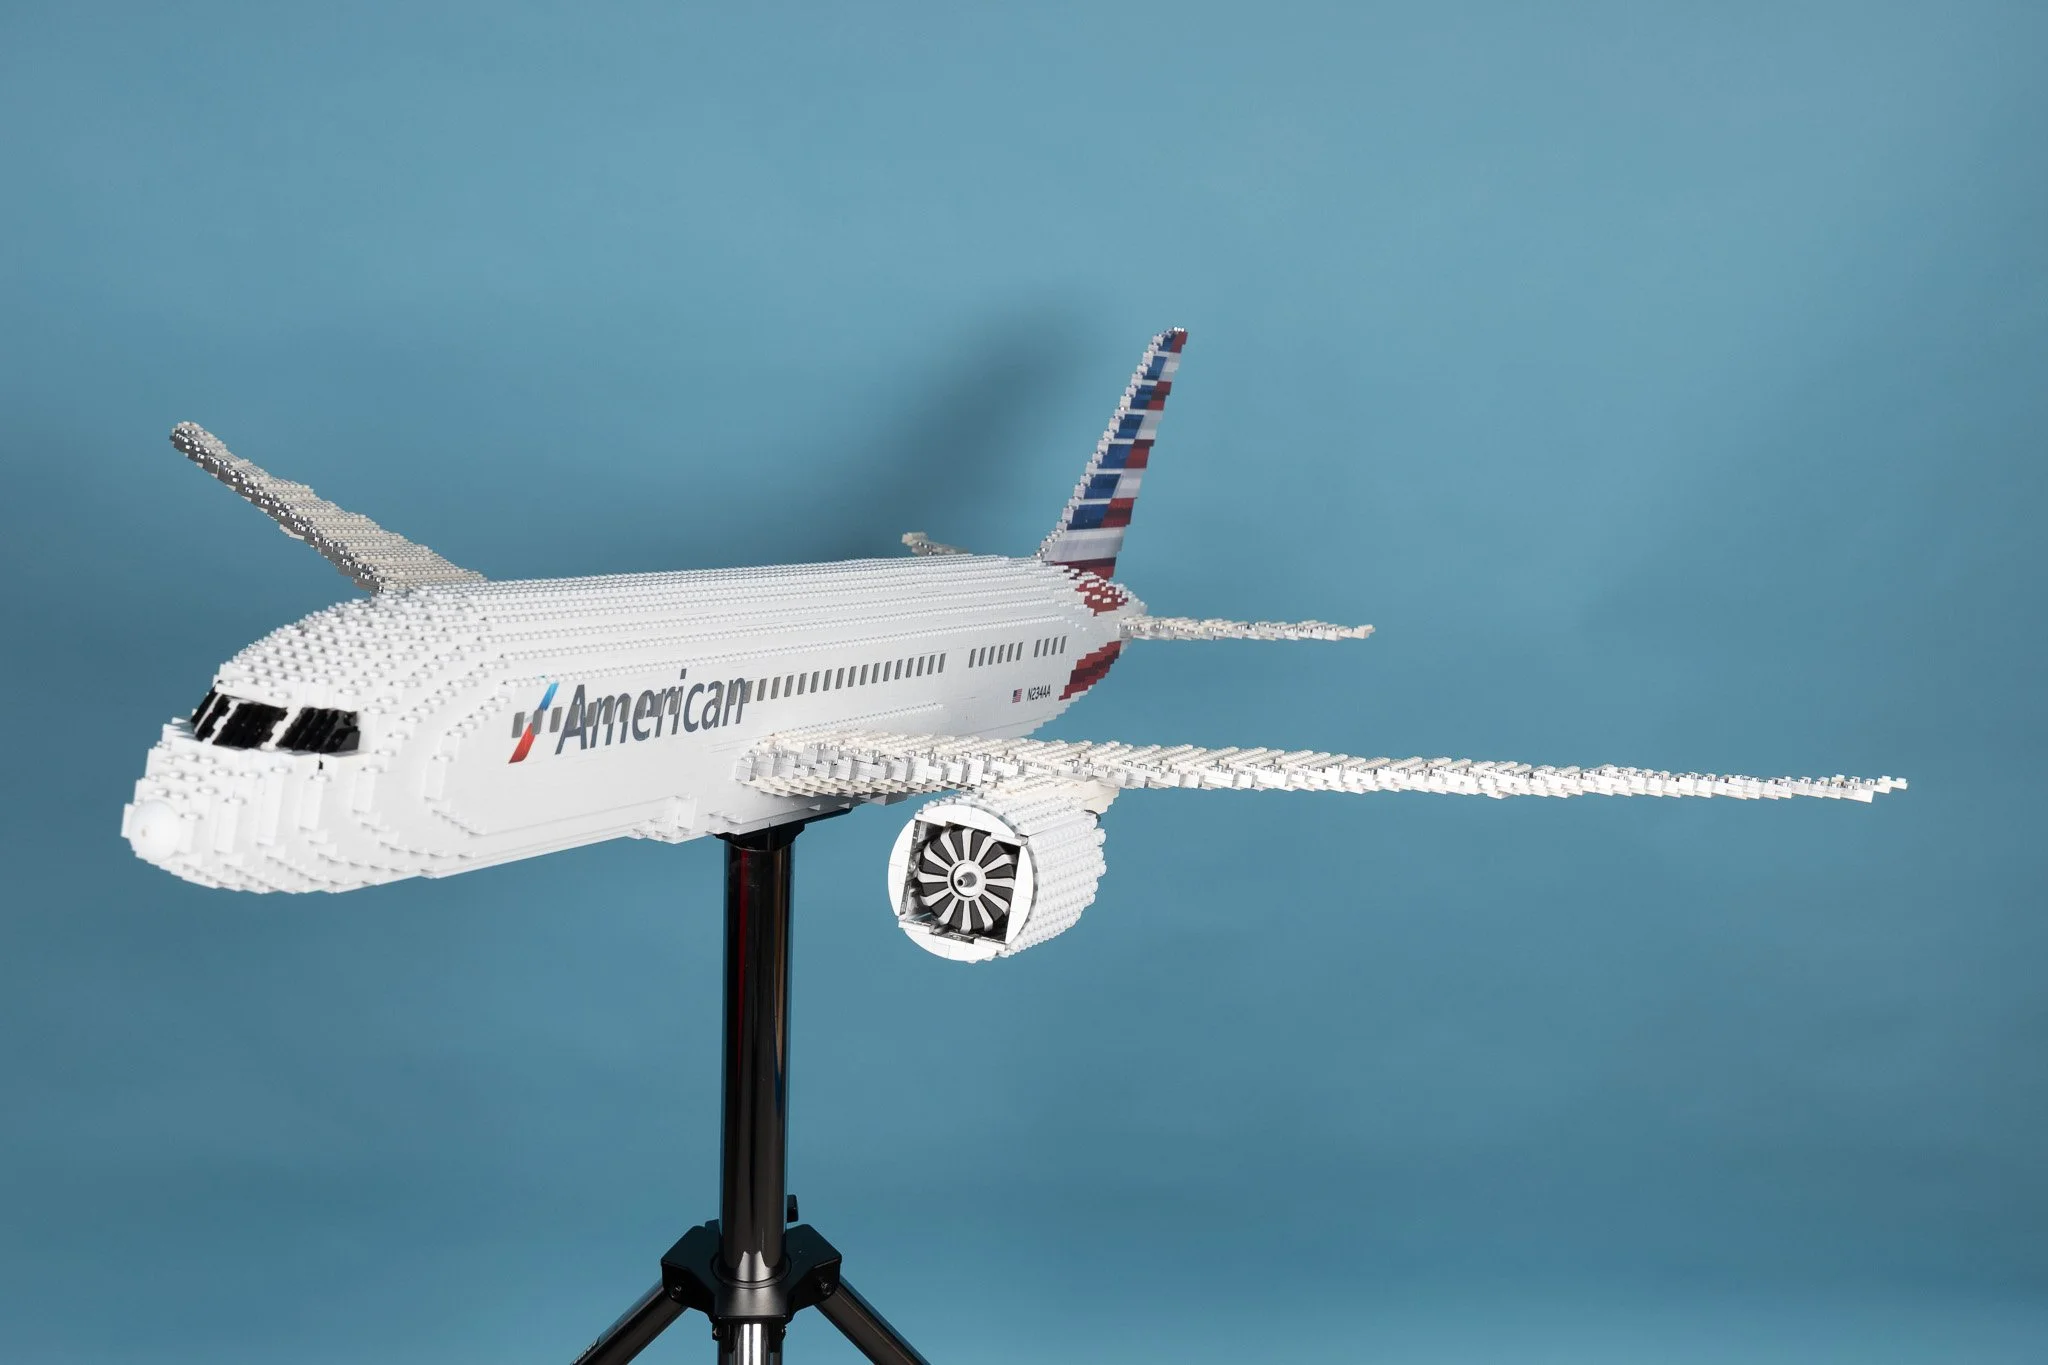
One of the benefits of working with the owners of what you’re building is that if you need the original paint scheme, you can get it. Once we’d tracked down the current livery designs, we noticed something. The special Mica paint being used, isn’t being used anymore! A few years earlier - but after the training simulators were painted - AA had moved to a new ‘Silver Eagle’ paint.
So, onto a new paint to match! There wasn’t a real plane I could hold bricks against as wasting time on an airport apron wasn’t really an option. Some research gave me the original Boeing paint code and I did think about ordering some of that to check - until I checked the price! Not to mention the special equipment needed to apply it.
Thankfully, there was an official Pantone match available for the new paint finish. Which opened up a new exciting possibility.

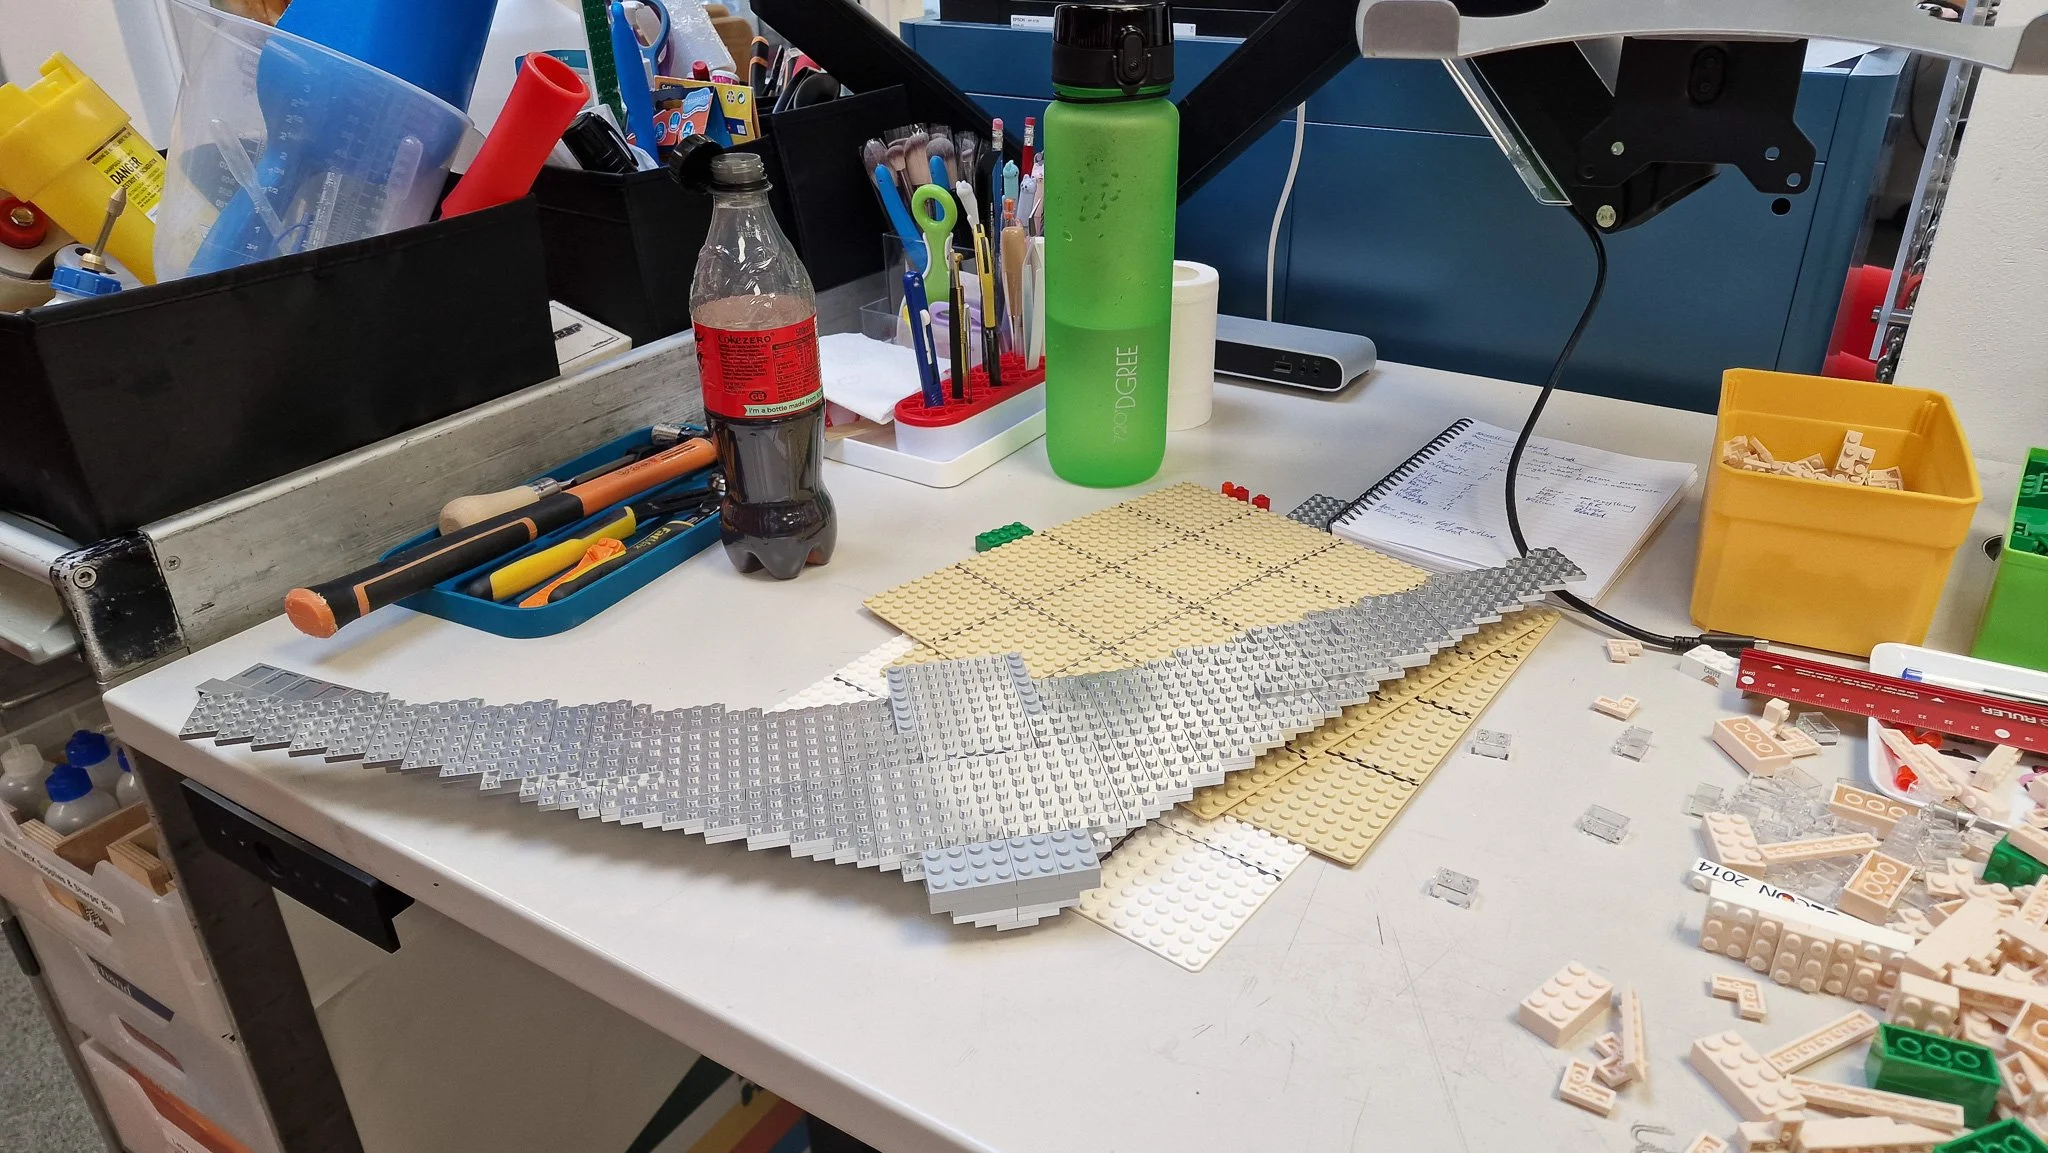
A lot of silver bricks!
It might surprise you, but I don’t only work with LEGO bricks. Other brands are available!
In fact, for projects just like this one, I have a rather special option. We have a great relationship with an injection moulding company in China and they can produce us any brick - in any colour. That means we can make specific models in the 100% correct corporate colour. It also means that we can have bricks made that the LEGO Group have never made. Such as the large silver plates I would need for the wings!
Of course, when having a specific colour moulded, I have to make a minimum order of each piece. Combining these colours with the style that I’d decided on would be a great combination though. Based on experience only, I estimated that all of the models could be built with just 6 different pieces.
So I’d ONLY need to order 200Kg (400Lbs) of bricks to make these models! *
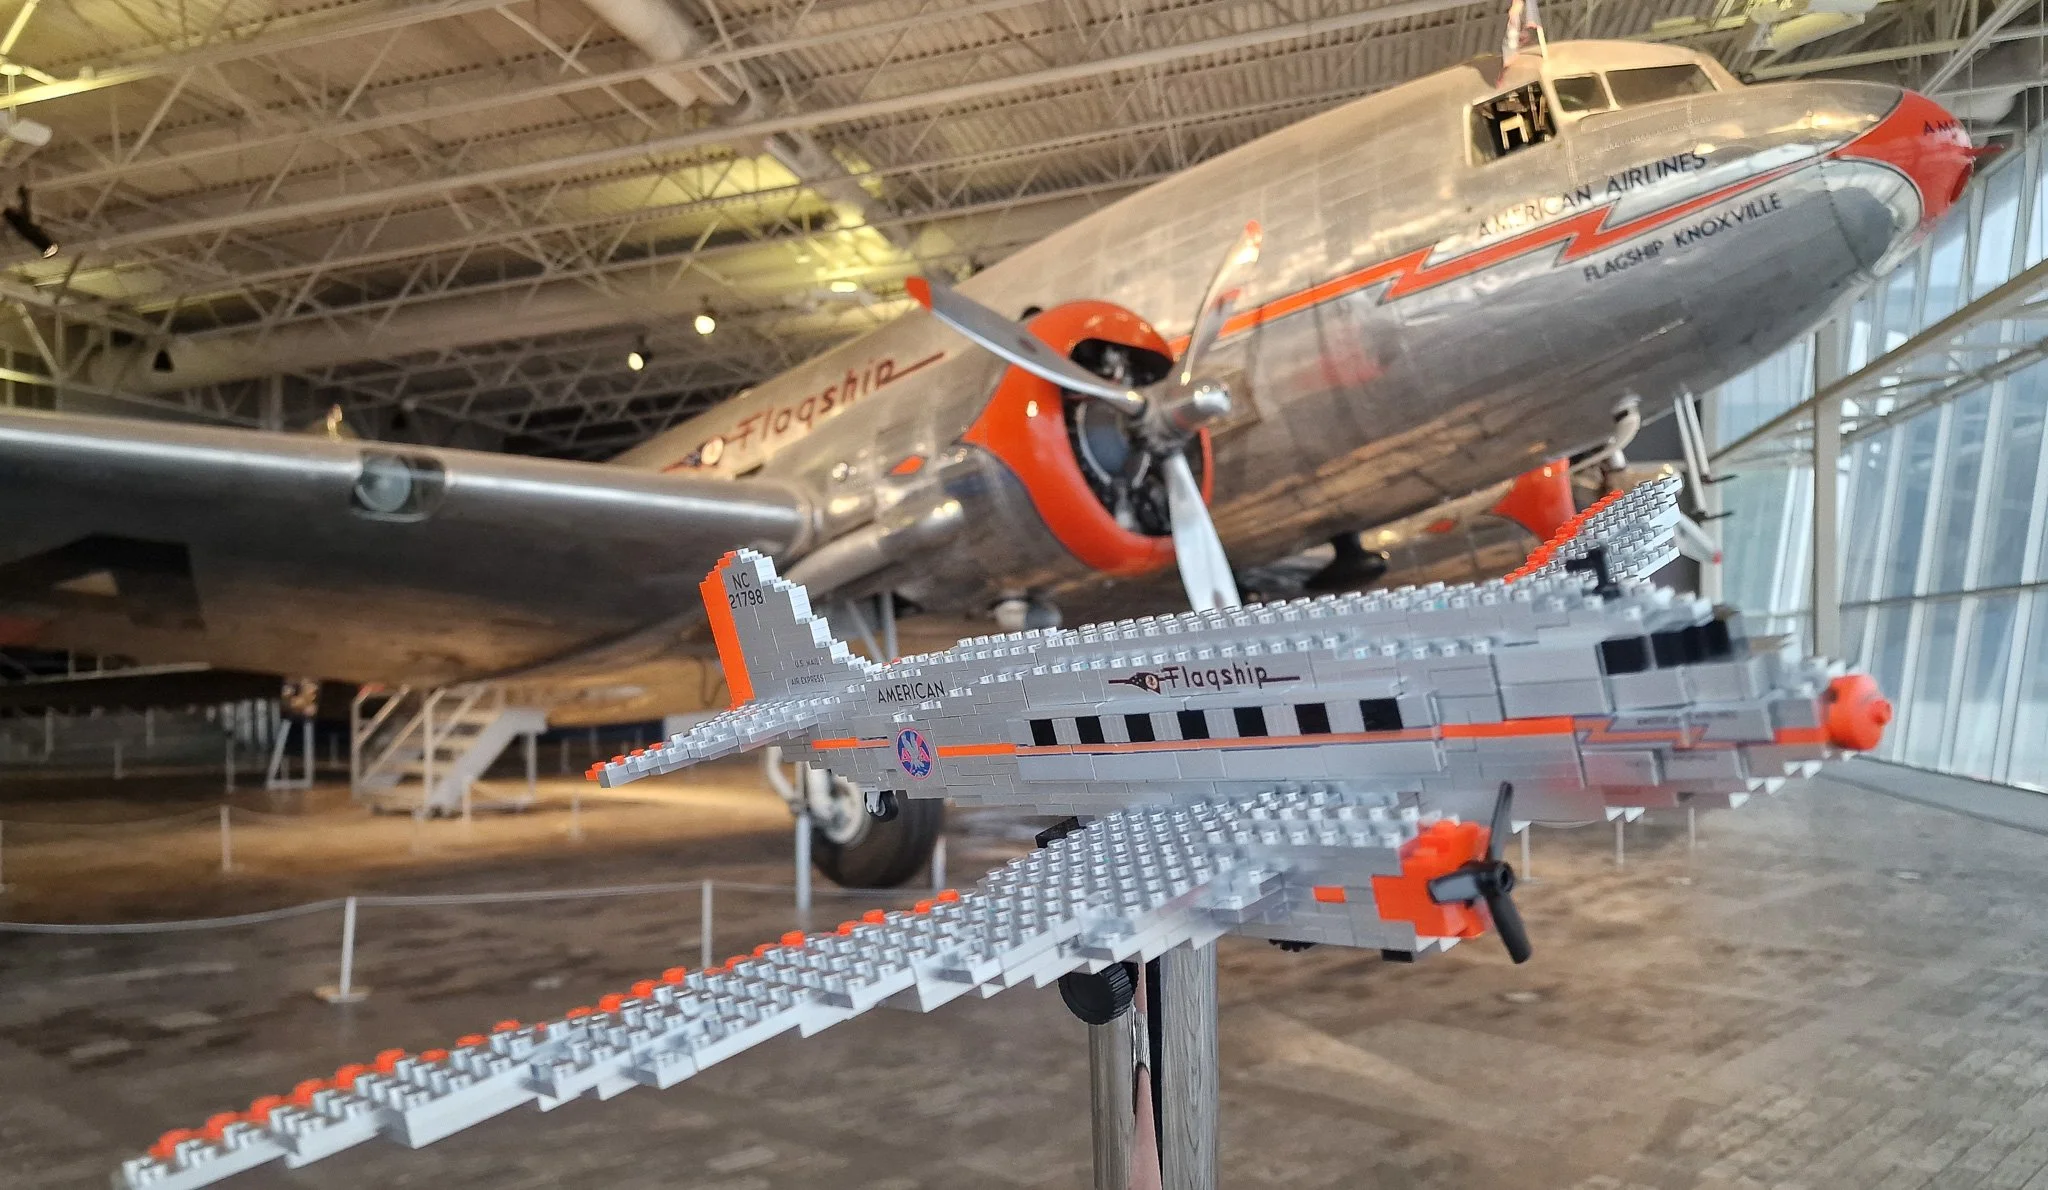
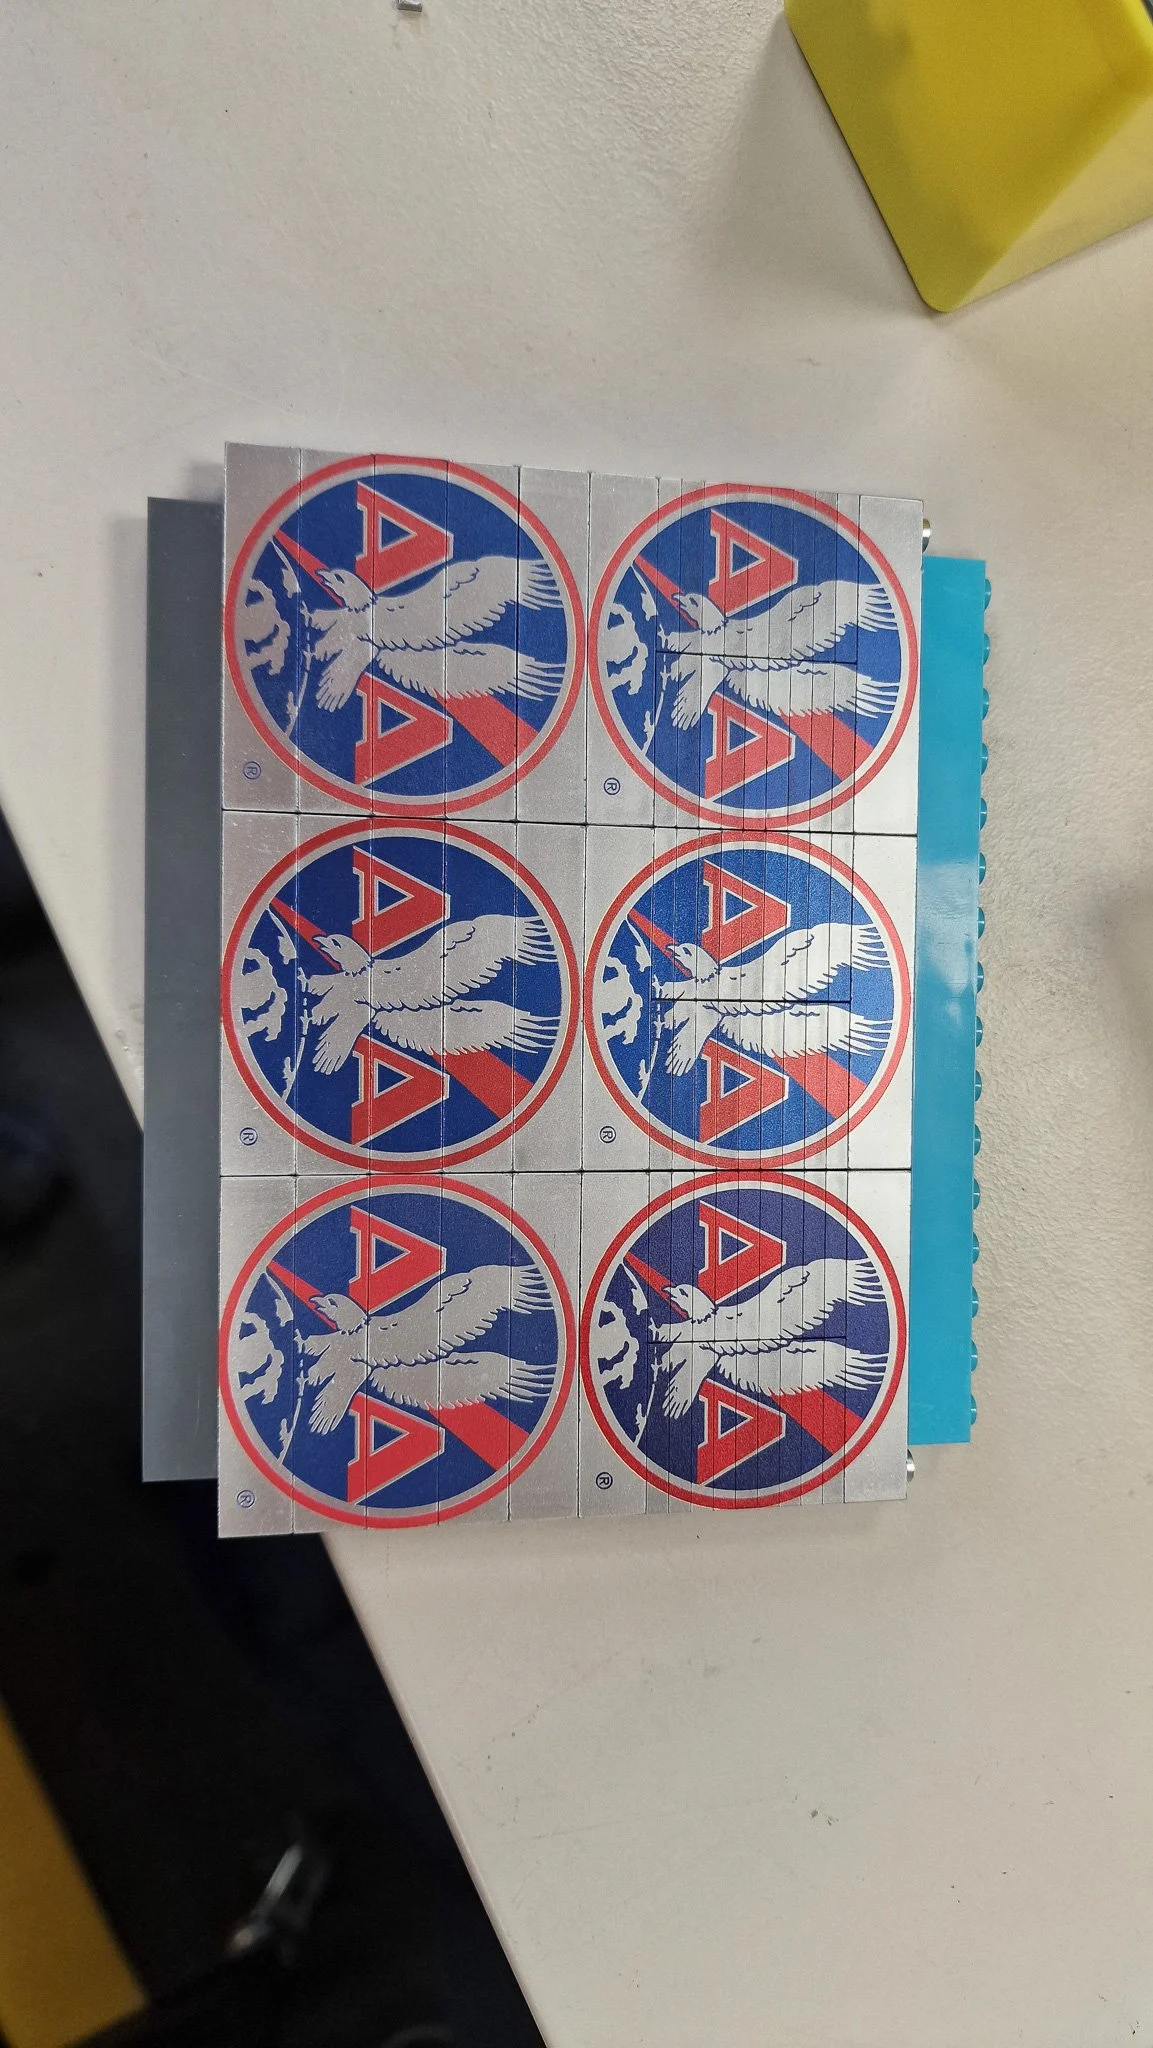
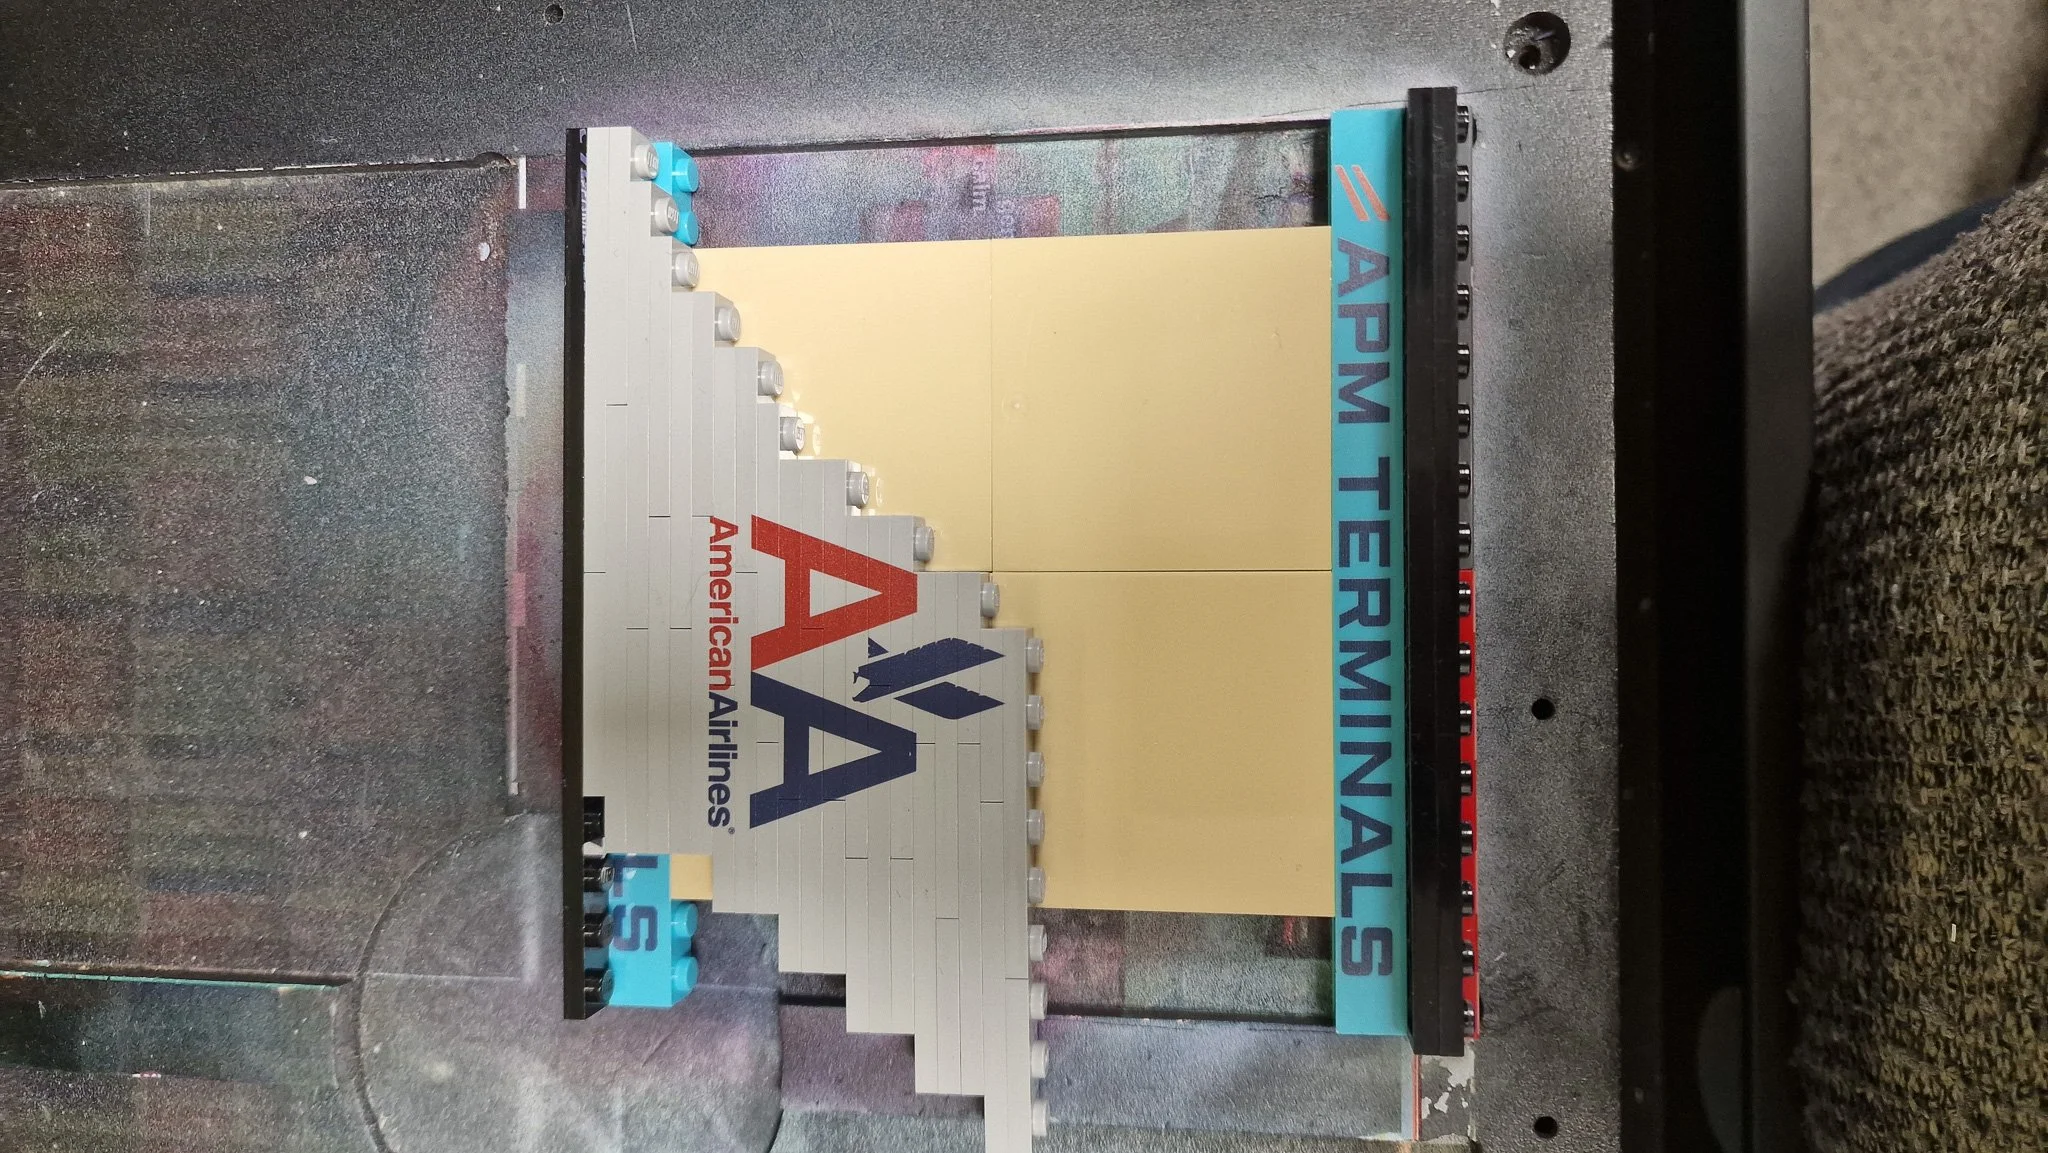
So, we have bricks, colours and a style. What’s left? Well, each plane would represent the livery of that period. So I had 5 liveries to recreate. Over the year, these liveries have been designed in a variety of ways - from pen and paper layouts, right through to modern designs created in CAD.
Whilst the LEGO models are obviously very close to the real thing, there are certain changes I need to make in order to account for the dimensions of the bricks. So the next thing is to take the original livery and adjust it just enough to match the model. Using a combination of Adobe Illustrator, our Roland UV printer and a lot of experience, these designs can then be printed out onto the correct bricks ready for the build.


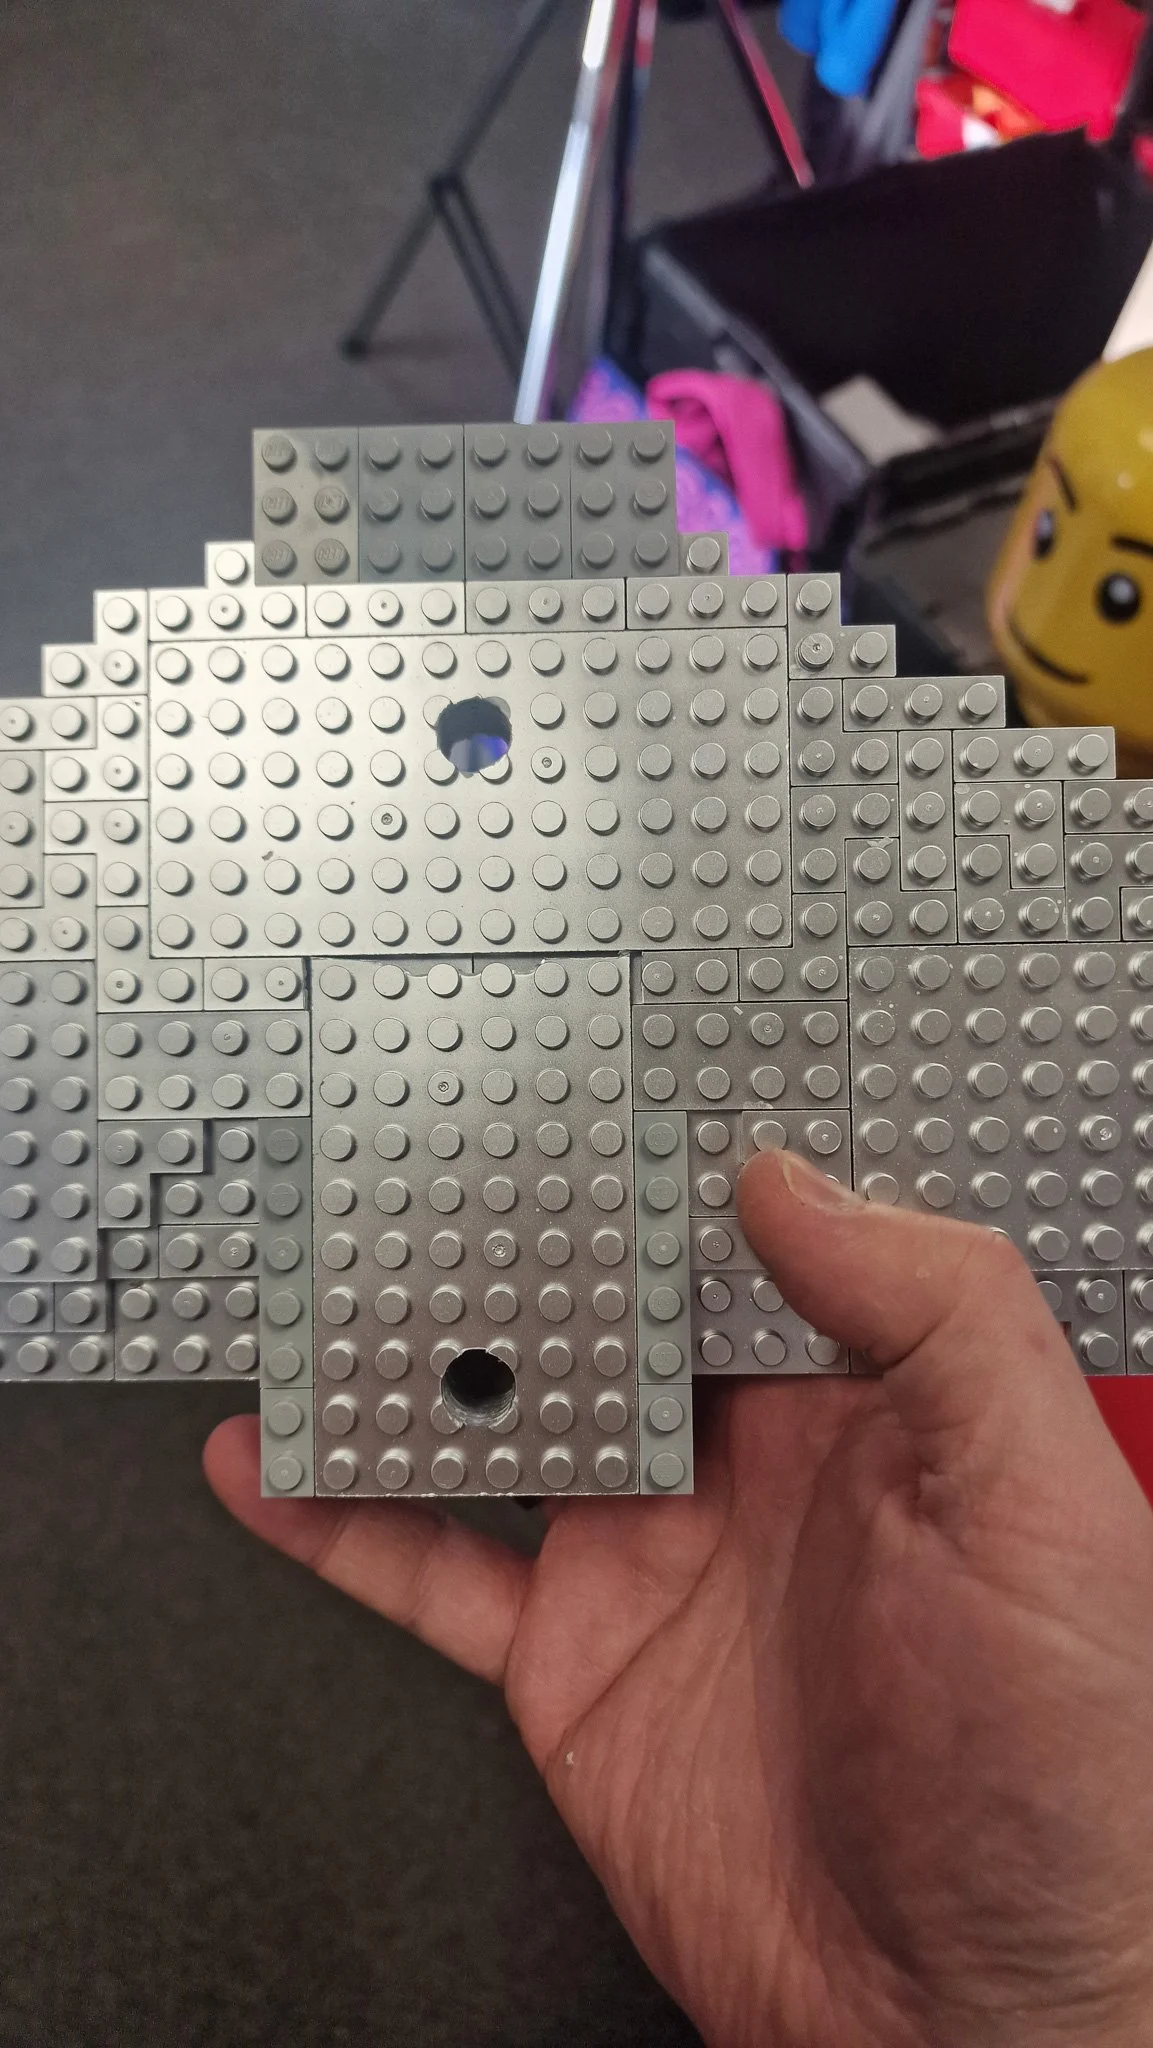
There’s now just one thing left to complete the models. Airplanes belong in the air, so we wanted to mount each model onto a display stand. We’d also need to be able to take the models apart in sections - in order to transport them. So, some assembly is required. When building a model that is designed to come apart, there are a few ways to do it. In this instance we chose traditional nuts & bolts as they would be easily replaceable if needed. Mounting those to LEGO, of course, needs some special fixings.
To create these fixings, I decided to turn to our Bambu Lab X1C. We’ve been asked for years if we use 3D printing and honestly, no. Until recently we’d never really created any parts in a 3D printer. This turned ourtto be the ideal solution though. A highly custom mounting bracket would sit atop the heavy-duty stand (these planes are heavy!). Custom hexagonal mounts would secure standard nuts inside the plane fuselages to assemble the planes.


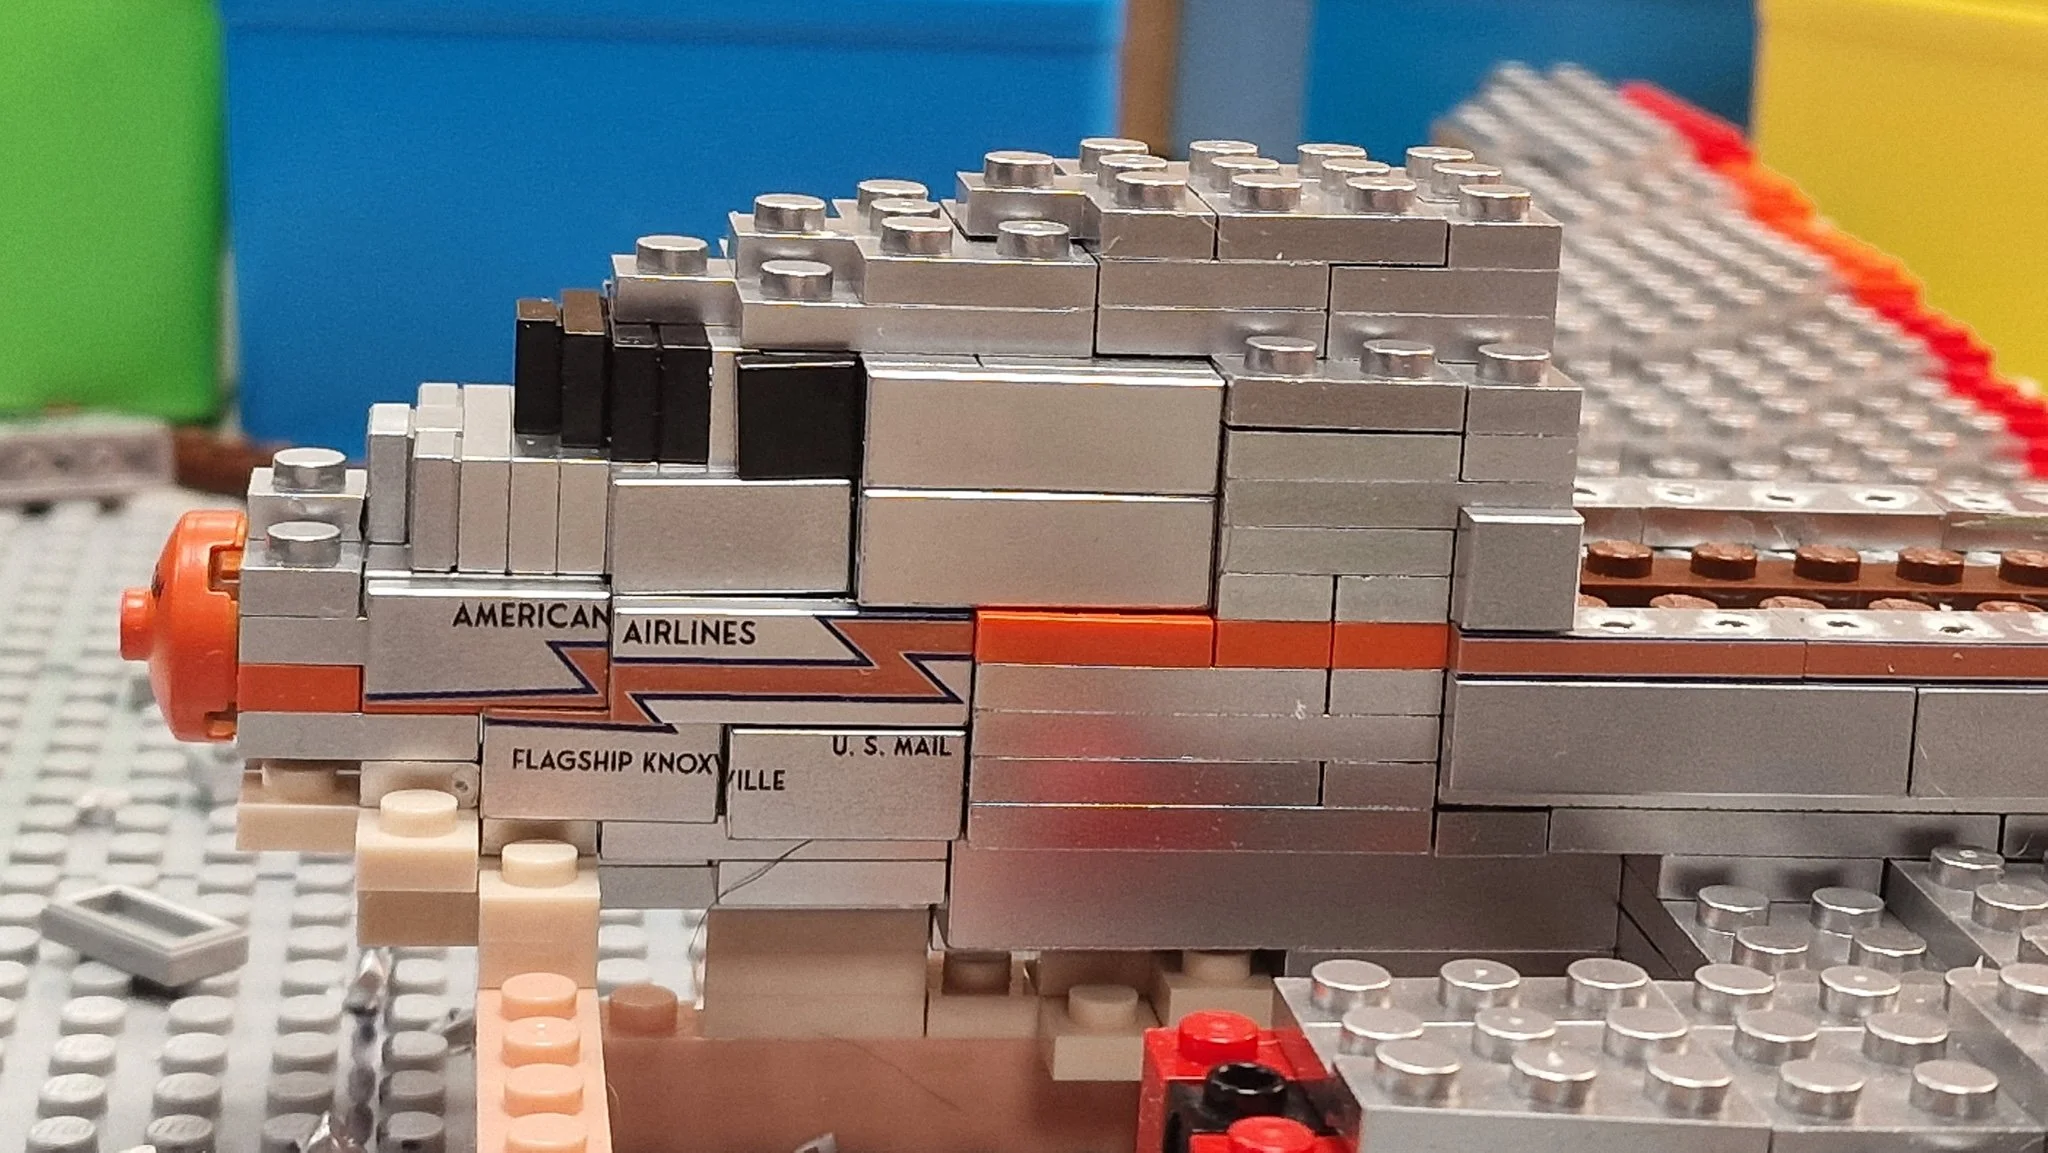
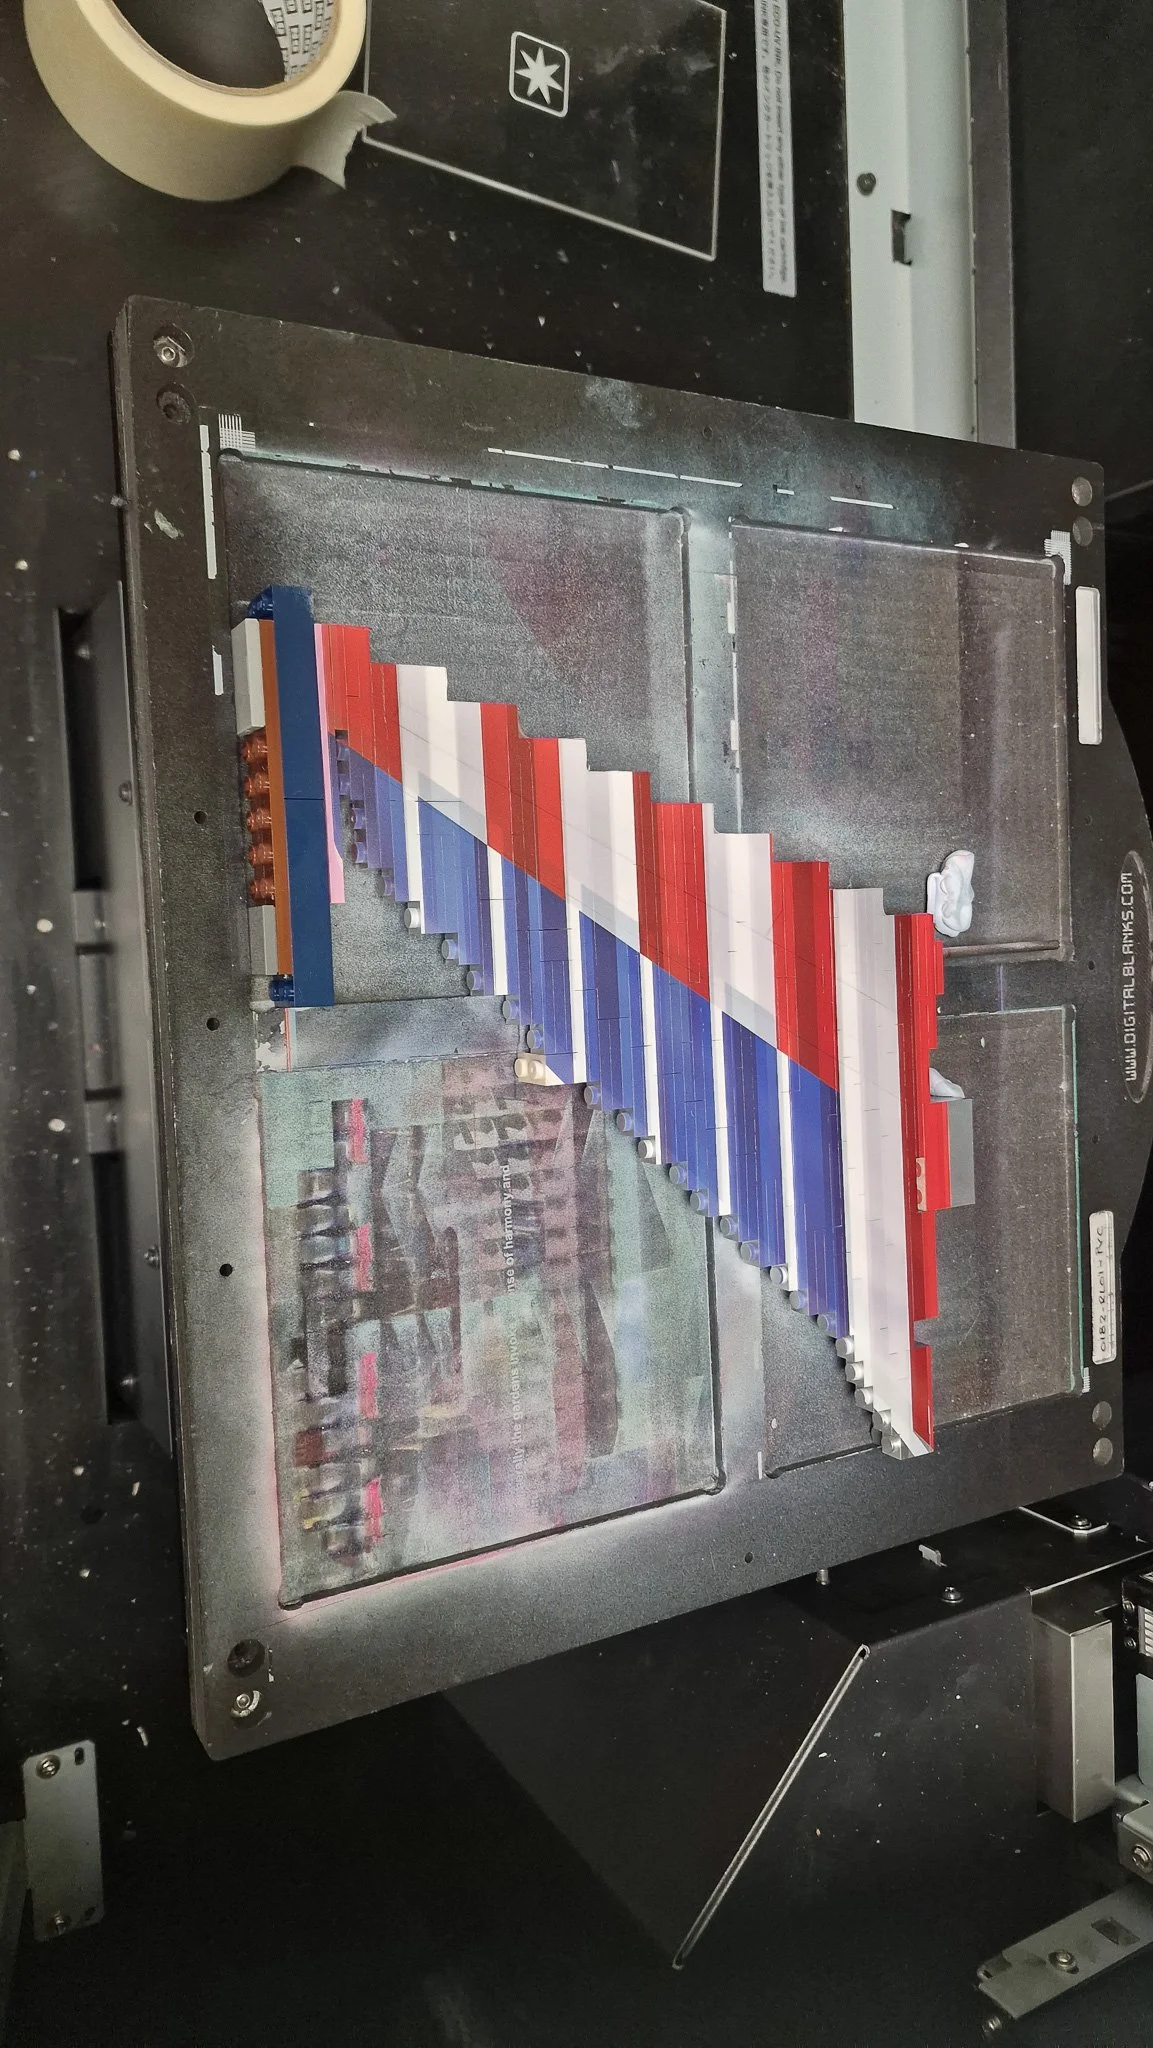
Finally - it’s time to put some bricks together! If it feels like it’s taken quite some time to get here, then you’re right. It did take quite a while to develop all of this. Now though, the bricks are flying!
Obviously, each plane uses a different amount of bricks, depending on the size - but the most time consuming part of this build was actually working out how to build the correct shape with only the six brick types I’d ordered! Oh - and that lovely shiny colour looks fabulous. On the flip side, it is also a sprayed finish. So when using the solvent we use to bond the bricks together it first has to be dissolved before the plastic. And the solvent fumes affect the finish. So nice and easy then….

The DC3 packed in Shadowfoam
Planes finished, there was one last thing to do. My fleet wasn’t going to fly itself to Dallas sadly, so they’d need to be packed up securely to get there. The planes were also very likely to move on from the museum in Dallas to other locations. So re-usable packaging was the solution. Whilst we can supply full ATA flightcases with custom CNC’d inserts - they aren’t the cheapest of solutions.
Better matched here, and normally used for securing tools in toolboxes, is Shadowfoam . It took a while (OK, ages!), but we could create custom packaging for each plane. Packaging like this makes it easy to pack everything correctly - and identify if there are any parts not packed away at the end of a day!
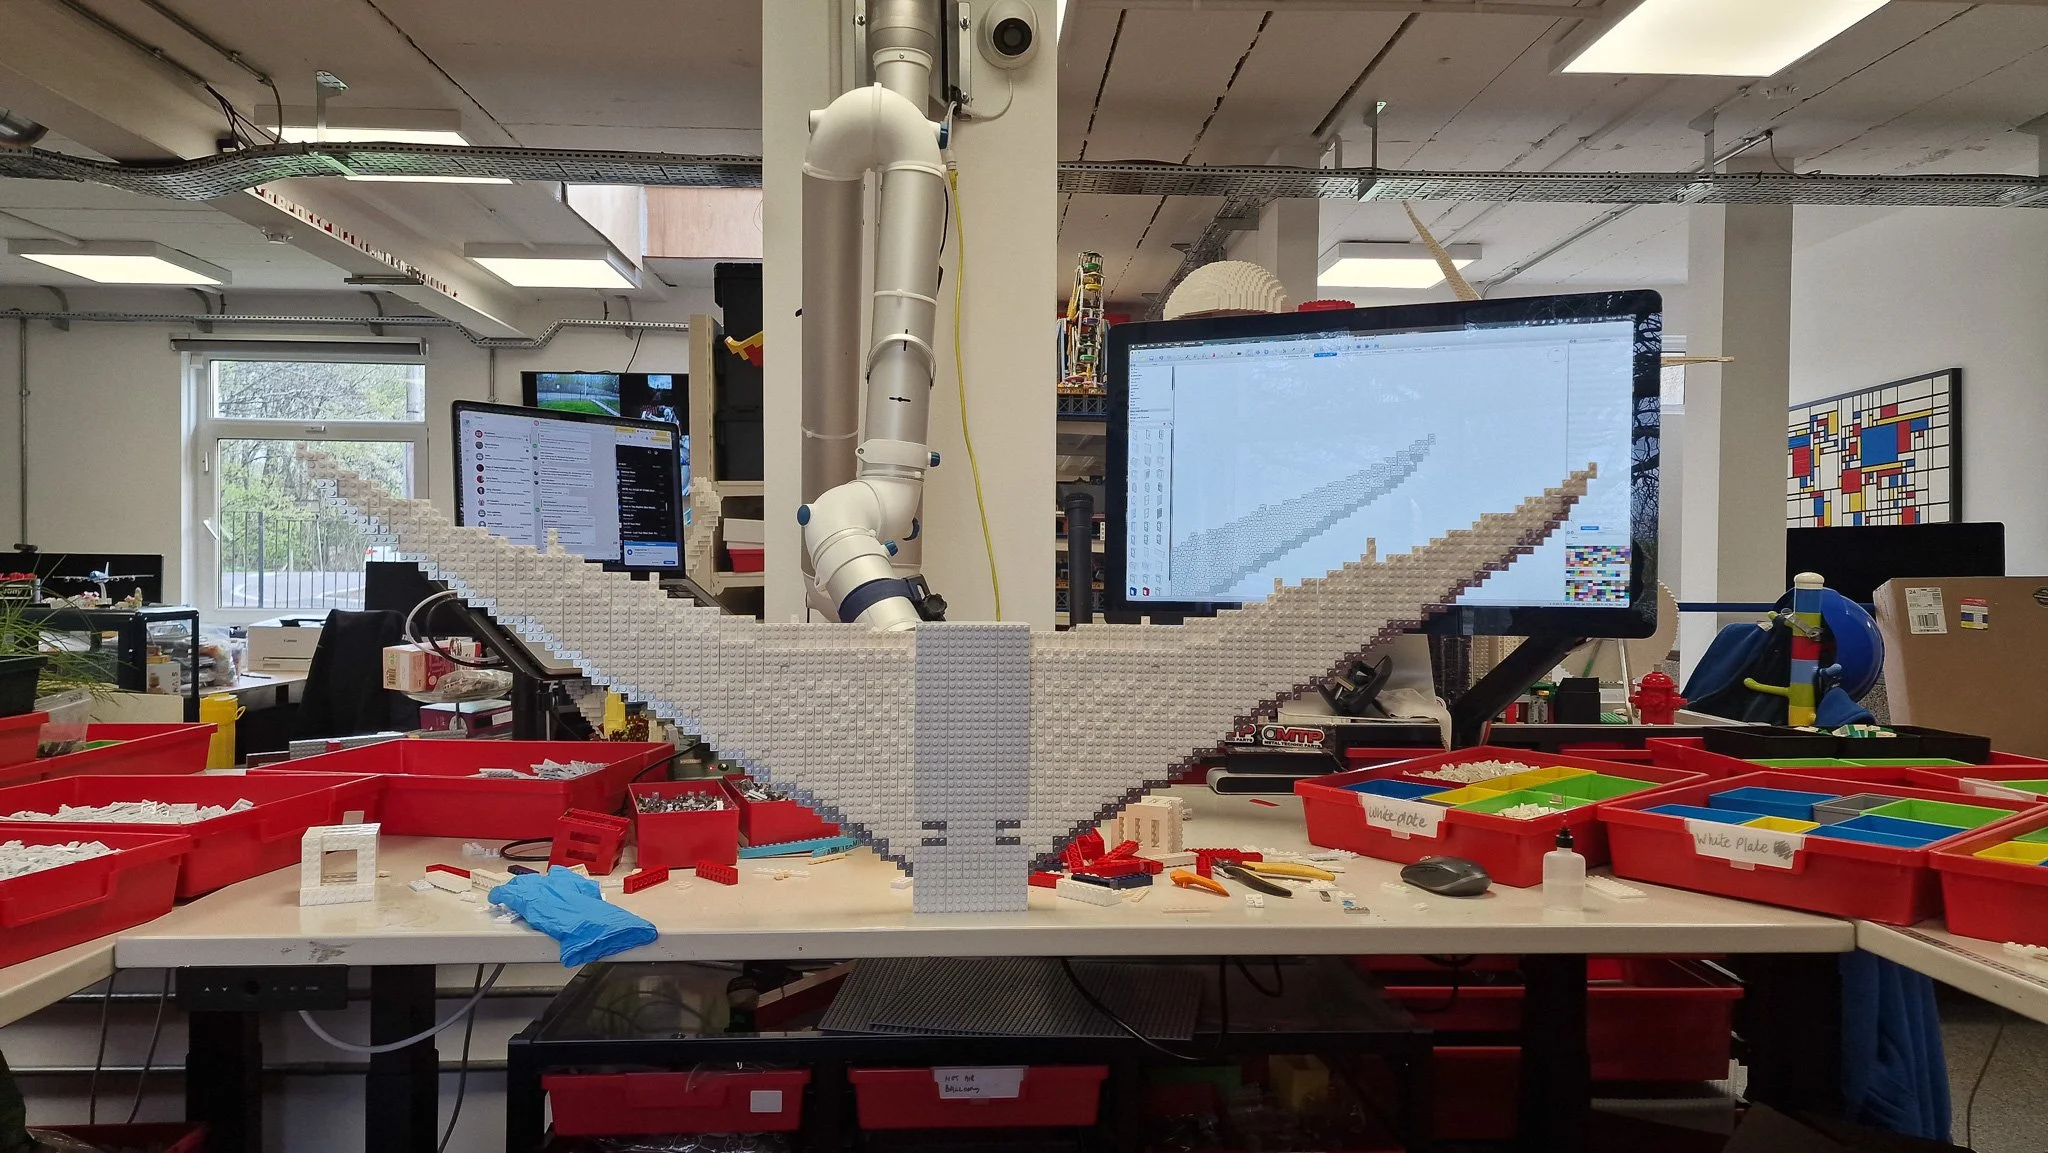
So, that was it! 5 planes, 5 eras, 5 liveries and 5 transport cases. All that’s left is to do the photography and get them on their way to Dallas. The DC3, 707, MD81, A321 and 787 packed and ready to go!


If all of that is just too much to read through, then for the Boeing 787 I’ve time lapsed the entire process. Please enjoy below - and if you did enjoy it, I’d love it if you can Like and Subscribe to our channel. Just imagine having to do this 5 times in a row!


*In case you were wondering, no. We absolutely do not waste the extra bricks that weren’t used in AA’s models. Although the special colours aren’t something we can usually use on the outside of another model, we 100% can on the inside of another model.
In the case that we can’t re-use the bricks ourselves, we donate them to local charities and schools. If we can’t give them away (perhaps glued parts) then we can send the bricks to a plastics recycler. Reduce, Re-use, Recycle.