Bricks now Boarding part 4: Airport Lounge
This was a big project! The lounge model was physically the largest of the models, but there are still another post (and 5 models!) to go!
Airport lounges are something most of us are accustomed to. We may love them or hate them, but one thing is guaranteed. The nice airline lounges - that you usually need an expensive ticket to access - are the best. So what better than an airline lounge in LEGO?
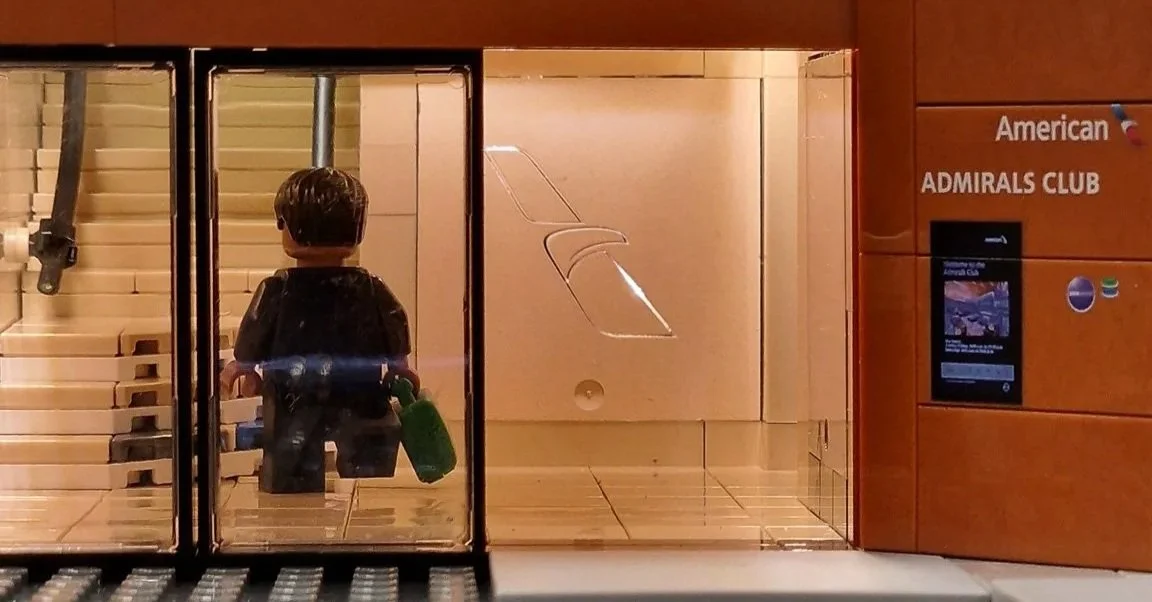
Warren in the Admirals Club. Actually, in the special VIP area of the lounge which is normally reserved for Senators, apparently. Maybe I should request this for all my travel…? ;-)
The Idea
Airline lounges are upgraded on a regular basis, so American Airlines decided the obvious choice of lounge to model was one of their latest to be launched. In this case, the Admirals Club at Ronald Reagan Washington National Airport.
As a newly upgraded lounge, we were lucky enough that there were already a lot of images and designs that we could follow for our LEGO model. Having said that though, there’s nothing like a site visit to check the smaller details. So, on my way back from Dallas, I made a short detour via Washington to go to the airport.
For once, I was looking forward to spending all day at an airport! After not checking in for an AA flight, I made my way to the Admirals Club to spend the day taking measurements, video, photographs and recording all the smaller details that we’d soon re-create in LEGO. Or not in LEGO, as it turned out.
Planning the layout
Now back in the UK, we started to plan out the lounge model. So far we knew of a few important items that had to be included - and we’d already decided to build the model to the scale of LEGO minifigures. But there is still so much to plan!
Whenever we build a large model like this, I feel it’s important that the customer know what the final model is going to look like, or as much as I can. So at this point, I draw up a detailed design document that shows the size, layout, style etc of all the parts to be built. You can see the overall plan to the left.
After a few days, I have a good idea on how most things are going to come together - but there are still quite a lot of unanswered questions usually. That’s fine at this point. I just need to make sure we include
All the right areas of the Admirals Club
The branded signage, displays, artworks and even branded columns!
Some special furniture pieces.
The infinity mirrors of the bathrooms
And the ‘quiet area’ lampshades
Having visited the club and got all the information I needed, the first part of the build actually went relatively easy.
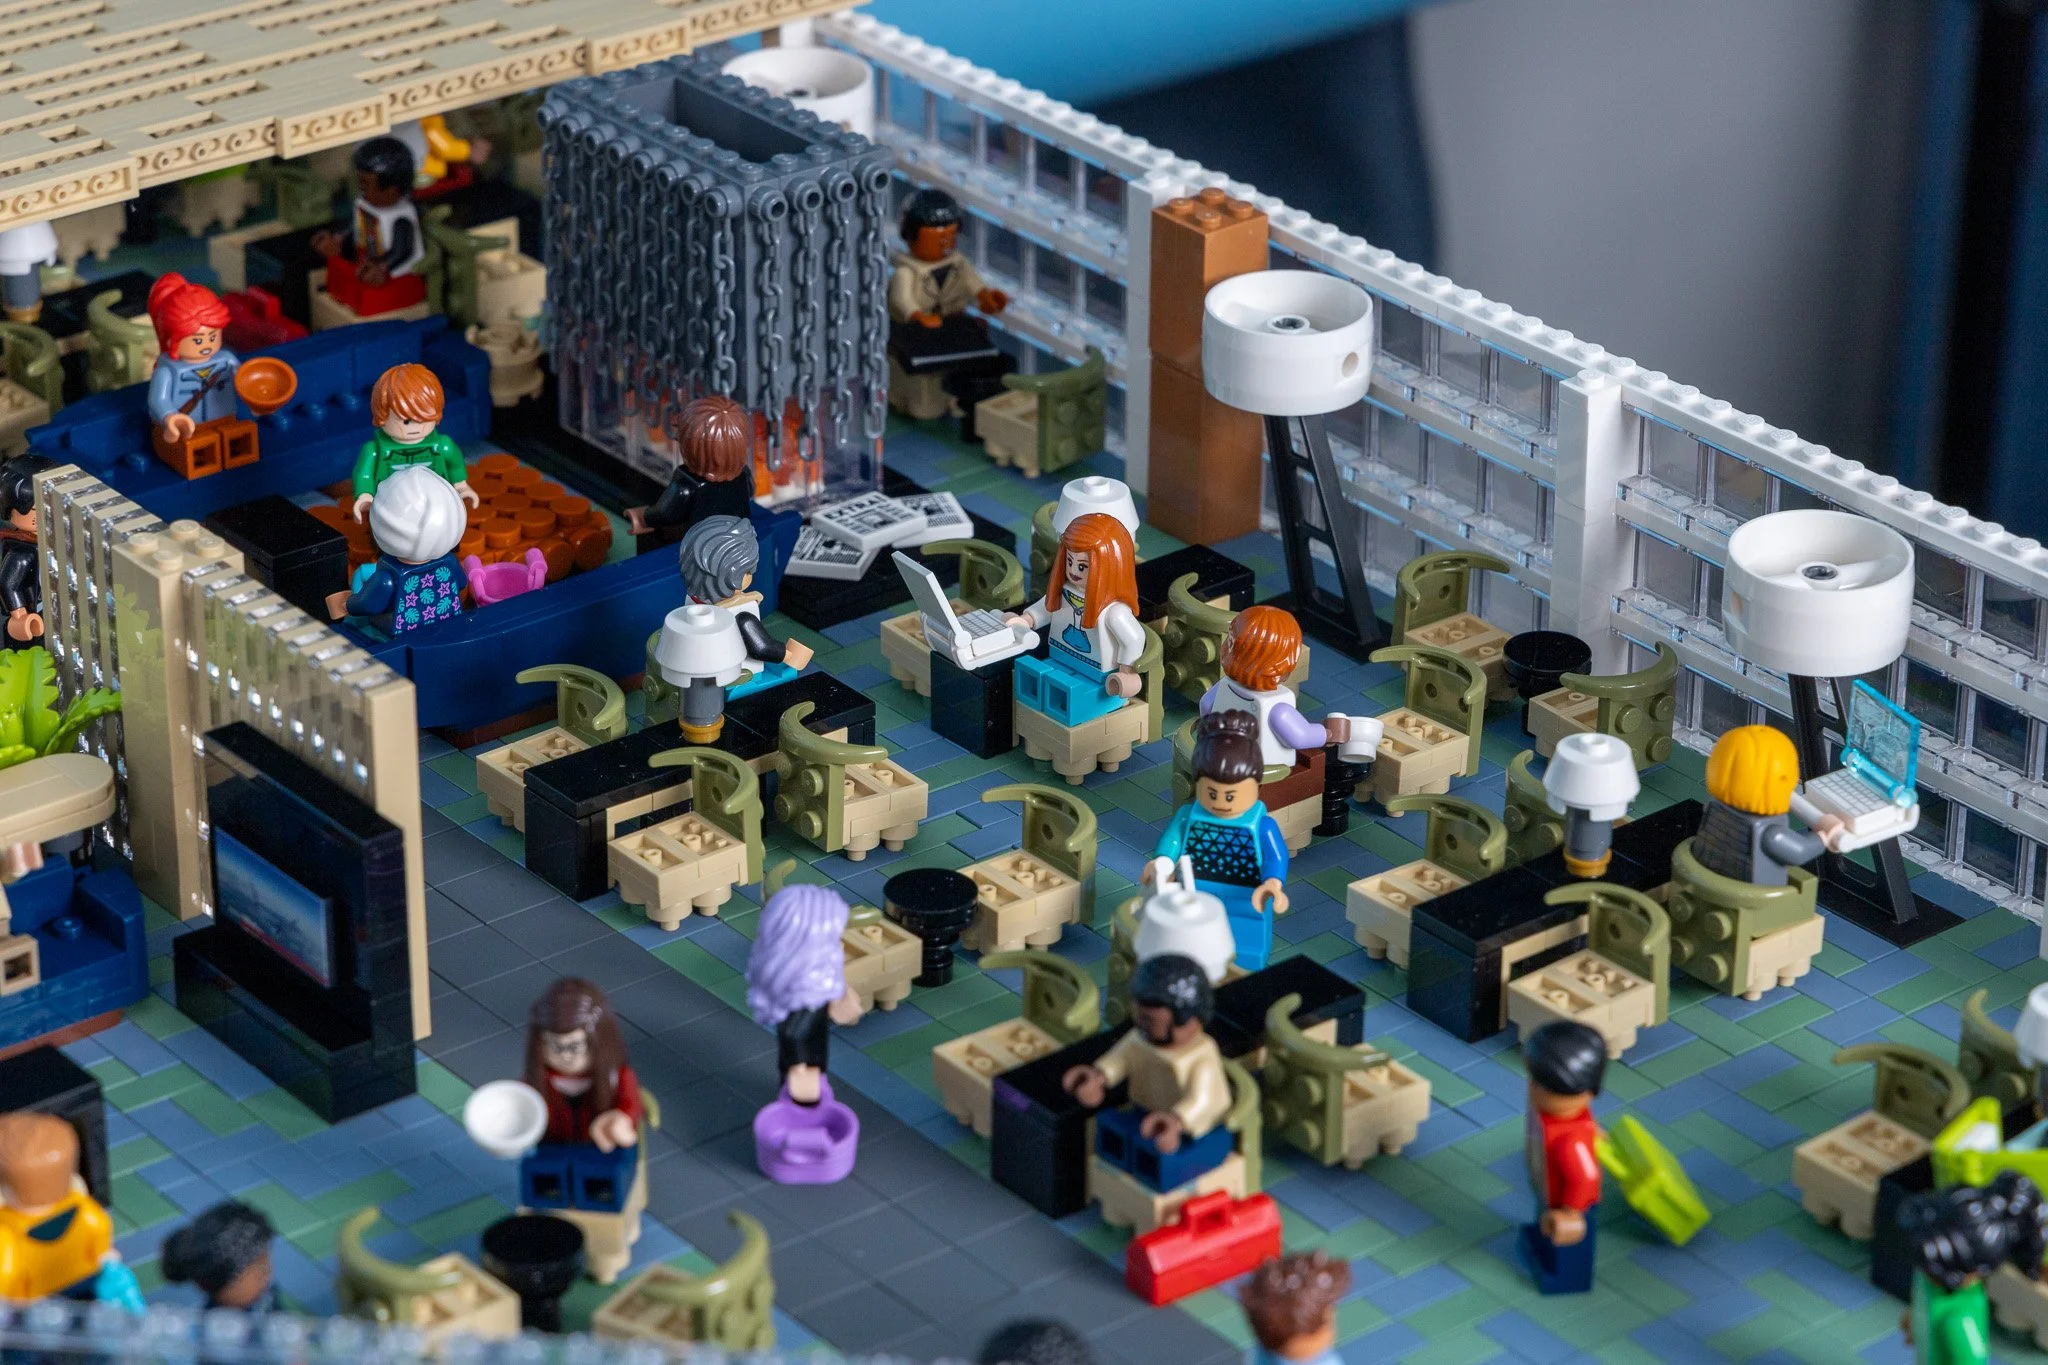
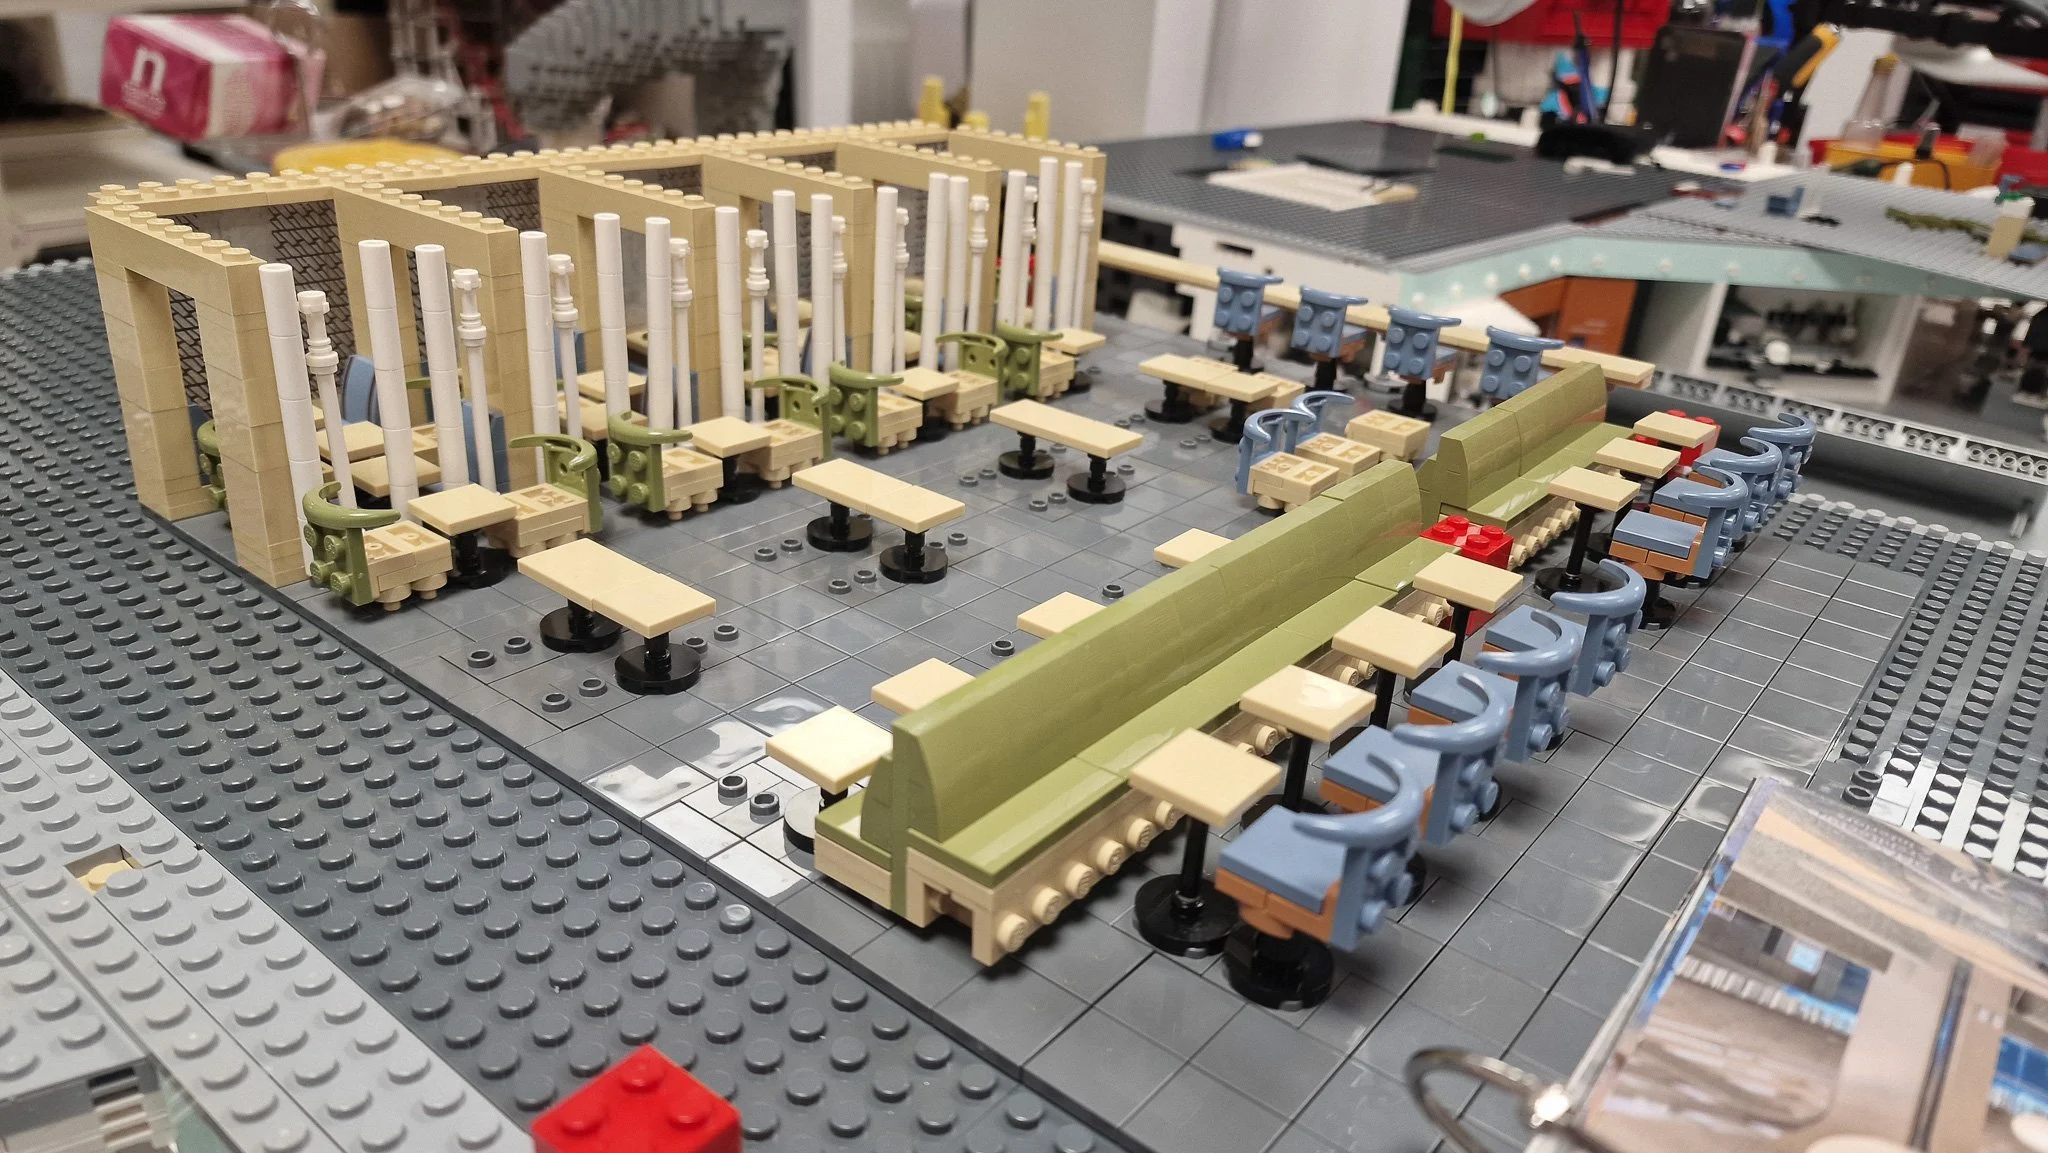
One perennial problem we have is that LEGO minifigures aren’t a good representation of people. For their height, they’re much wider than a real person would be. So when making buildings we’re usually removing rows of seating to make things fit. In this case, it turned out to be that simple! Well, once we’d designed where each area was, what the seating looked like….
Next up were the walls and branded signage. This is where having an industrial UV printer on site is really handy! We were able to print up the TV displays, logos and more directly onto the bricks. Permanent and with finer detail than anything else could match.
One of the larger seating areas - note the offset column at the back
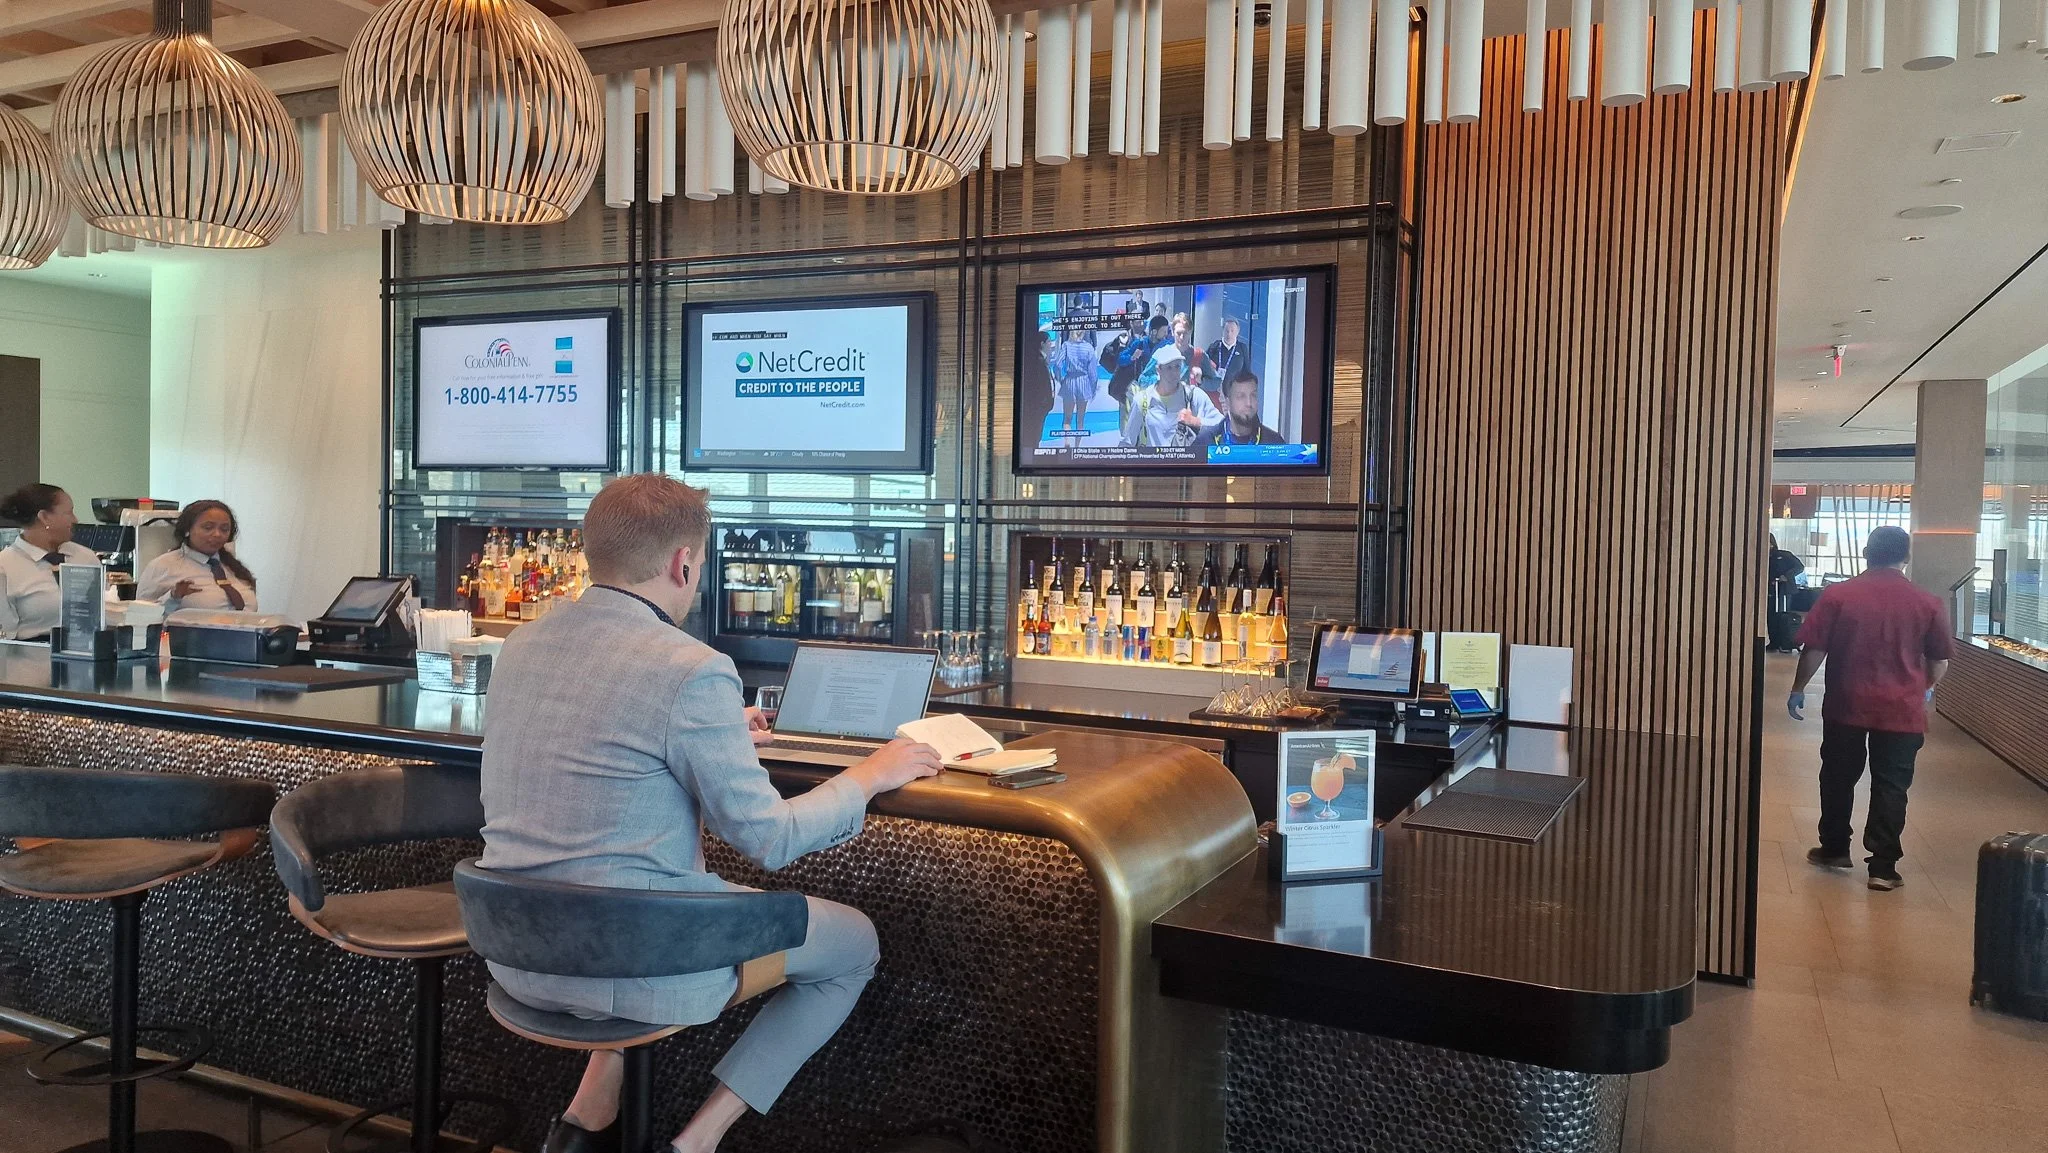
The real Admirals Club bar
Our bar area
So, furniture - check! Branding - Check! Next up, the slightly more technical parts! Next to the entrance there’s also an embossed AA ‘flight symbol’ logo which is backlit to stand out from the surroundings. A lovely feature and one that I did have a rough idea how to make!
The problem with fine details like this is usually that they also need to be completely correct to fit in with company style guidelines. So a pure LEGO solution wouldn’t be any good at this scale. As I said though, I did have an idea. Remember that UV printer? Well, add enough matt layers and you can block out light very well. And it’s super exact….
What you see to the right is the final solution I used to create the sign, below it. After some trial and error, it turned out that a lightstrip (from Brickstuff) behind one 1x6x5 panel, sandwiched with a diffusion filter, then another 1x6x5 panel, then TEN layers of print were enough to make it work. That’s 4 black, 4 white and 2 colour passes.
The insides of the sign
The sign as viewed in the final model.
At the entrance to both the lounge and the toilets, the Admirals club uses the famous Washington cherry blossom motif. It’s embedded into infinity mirrors which do look really nice. I’ve been a big fan of optical illusions for a while, so I knew how these work in LEGO. At least theoretically I did!
Form a technical perspective, all you need for an infinity mirror are two mirrors. One is half silvered (ie a one-way mirror). Then you place the things to be reflected, then another mirror. Oh, and you MUST control the lighting to make it work.
From a LEGO point…. pretty much of that doesn’t exist! So after creating the cherry blossom strands I turned to some mirrored foils.
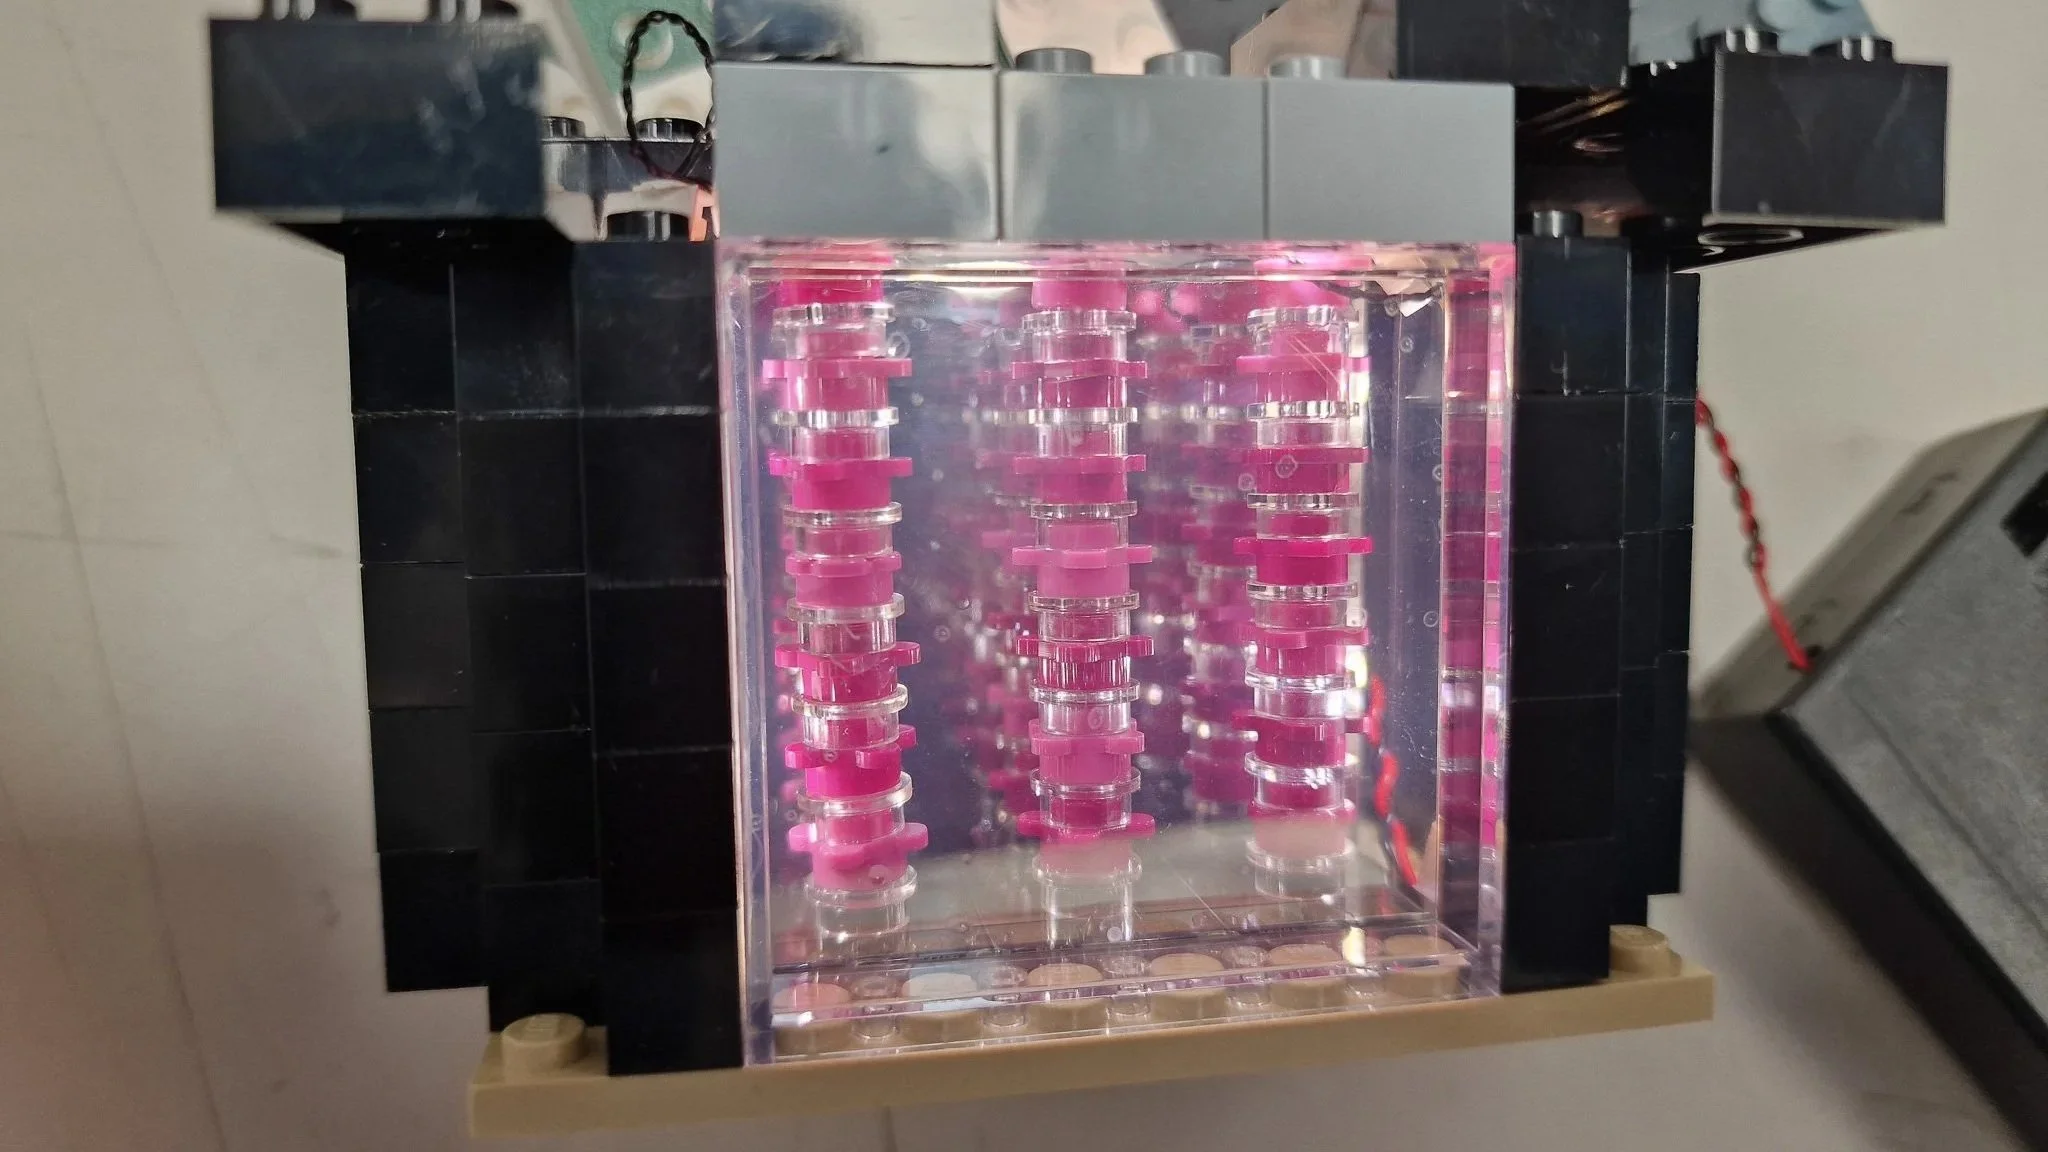
It works! I built a small proof of concept to see how it would look. Even in our normal studio lighting it looked pretty good. All that was necessary now was to embed it into the model. With the infinity mirrors being at the end of a dark corridor it should look fab - and it does!
The only real problem with my final infinity mirror is that it looks great in person ….. and pretty rubbish in a photo! Getting enough ambient light into a dark tunnel, without blowing out the actual target, was a bit much for my camera work. Maybe I need a new lense?
The real infinity mirrors in the Admirals Club
The proof of concept design.
The lampshades in the Admirals Club
OK, onto the last complex part. Those lampshades. I had spoken to the Club staff and they were really important to them. It’s one of those little features that, once you see it, really just works. So, I certainly wasn’t going to miss them out. Whilst on site I couldn’t think exactly how I was going to design these - but “I’m sure I can find a way”. That really expensive printer we have is fine enough - I’m sure I can find a way to print them. Spoiler alert - I couldn’t!
We tried all sort of printing, but the small curvature of these domes (they are only 48mm / 2 inches in diameter) just threw us every time. I considered hydro-dipping, but at this scale things would never be straight. I considered wrapping the parts in a printed vinyl, but again - the curves were too sharp.
So, there was only one solution I could think of to make the letters small and straight enough. I would have to apply them by hand.
EVERY. SINGLE. LETTER. BY. HAND.
Yup, every single letter (about 4mm or 5/32 of an inch wide) would need to be applied by hand and bent into shape. What I’m wearing in the picture above is a jewelers loupe. It’s basically a magnifying glass because these letters are tiny! I had our printers cut the letters of a document out on a CNC cutter, then picked each one up with a scalpel to attach it in place. Keep going until you reach the top. Then, start again as there are THREE lampshades to do!
Just these three lampshades took around 4 days to complete, split over multiple days. It’s one of those things that you actually can’t do for too long as it requires so much concentration. No-one ever said it was going to be easy!
The results were worth the effort though, once finally installed. With a vibrant but relaxing full colour Admirals club - and a boring, greyscale general terminal beneath.


